This guide walks you through setting up Hardal's cookieless analytics on your website using Google Tag Manager, ensuring proper tracking without cookies.
Step 1: Get Your Hardal Script
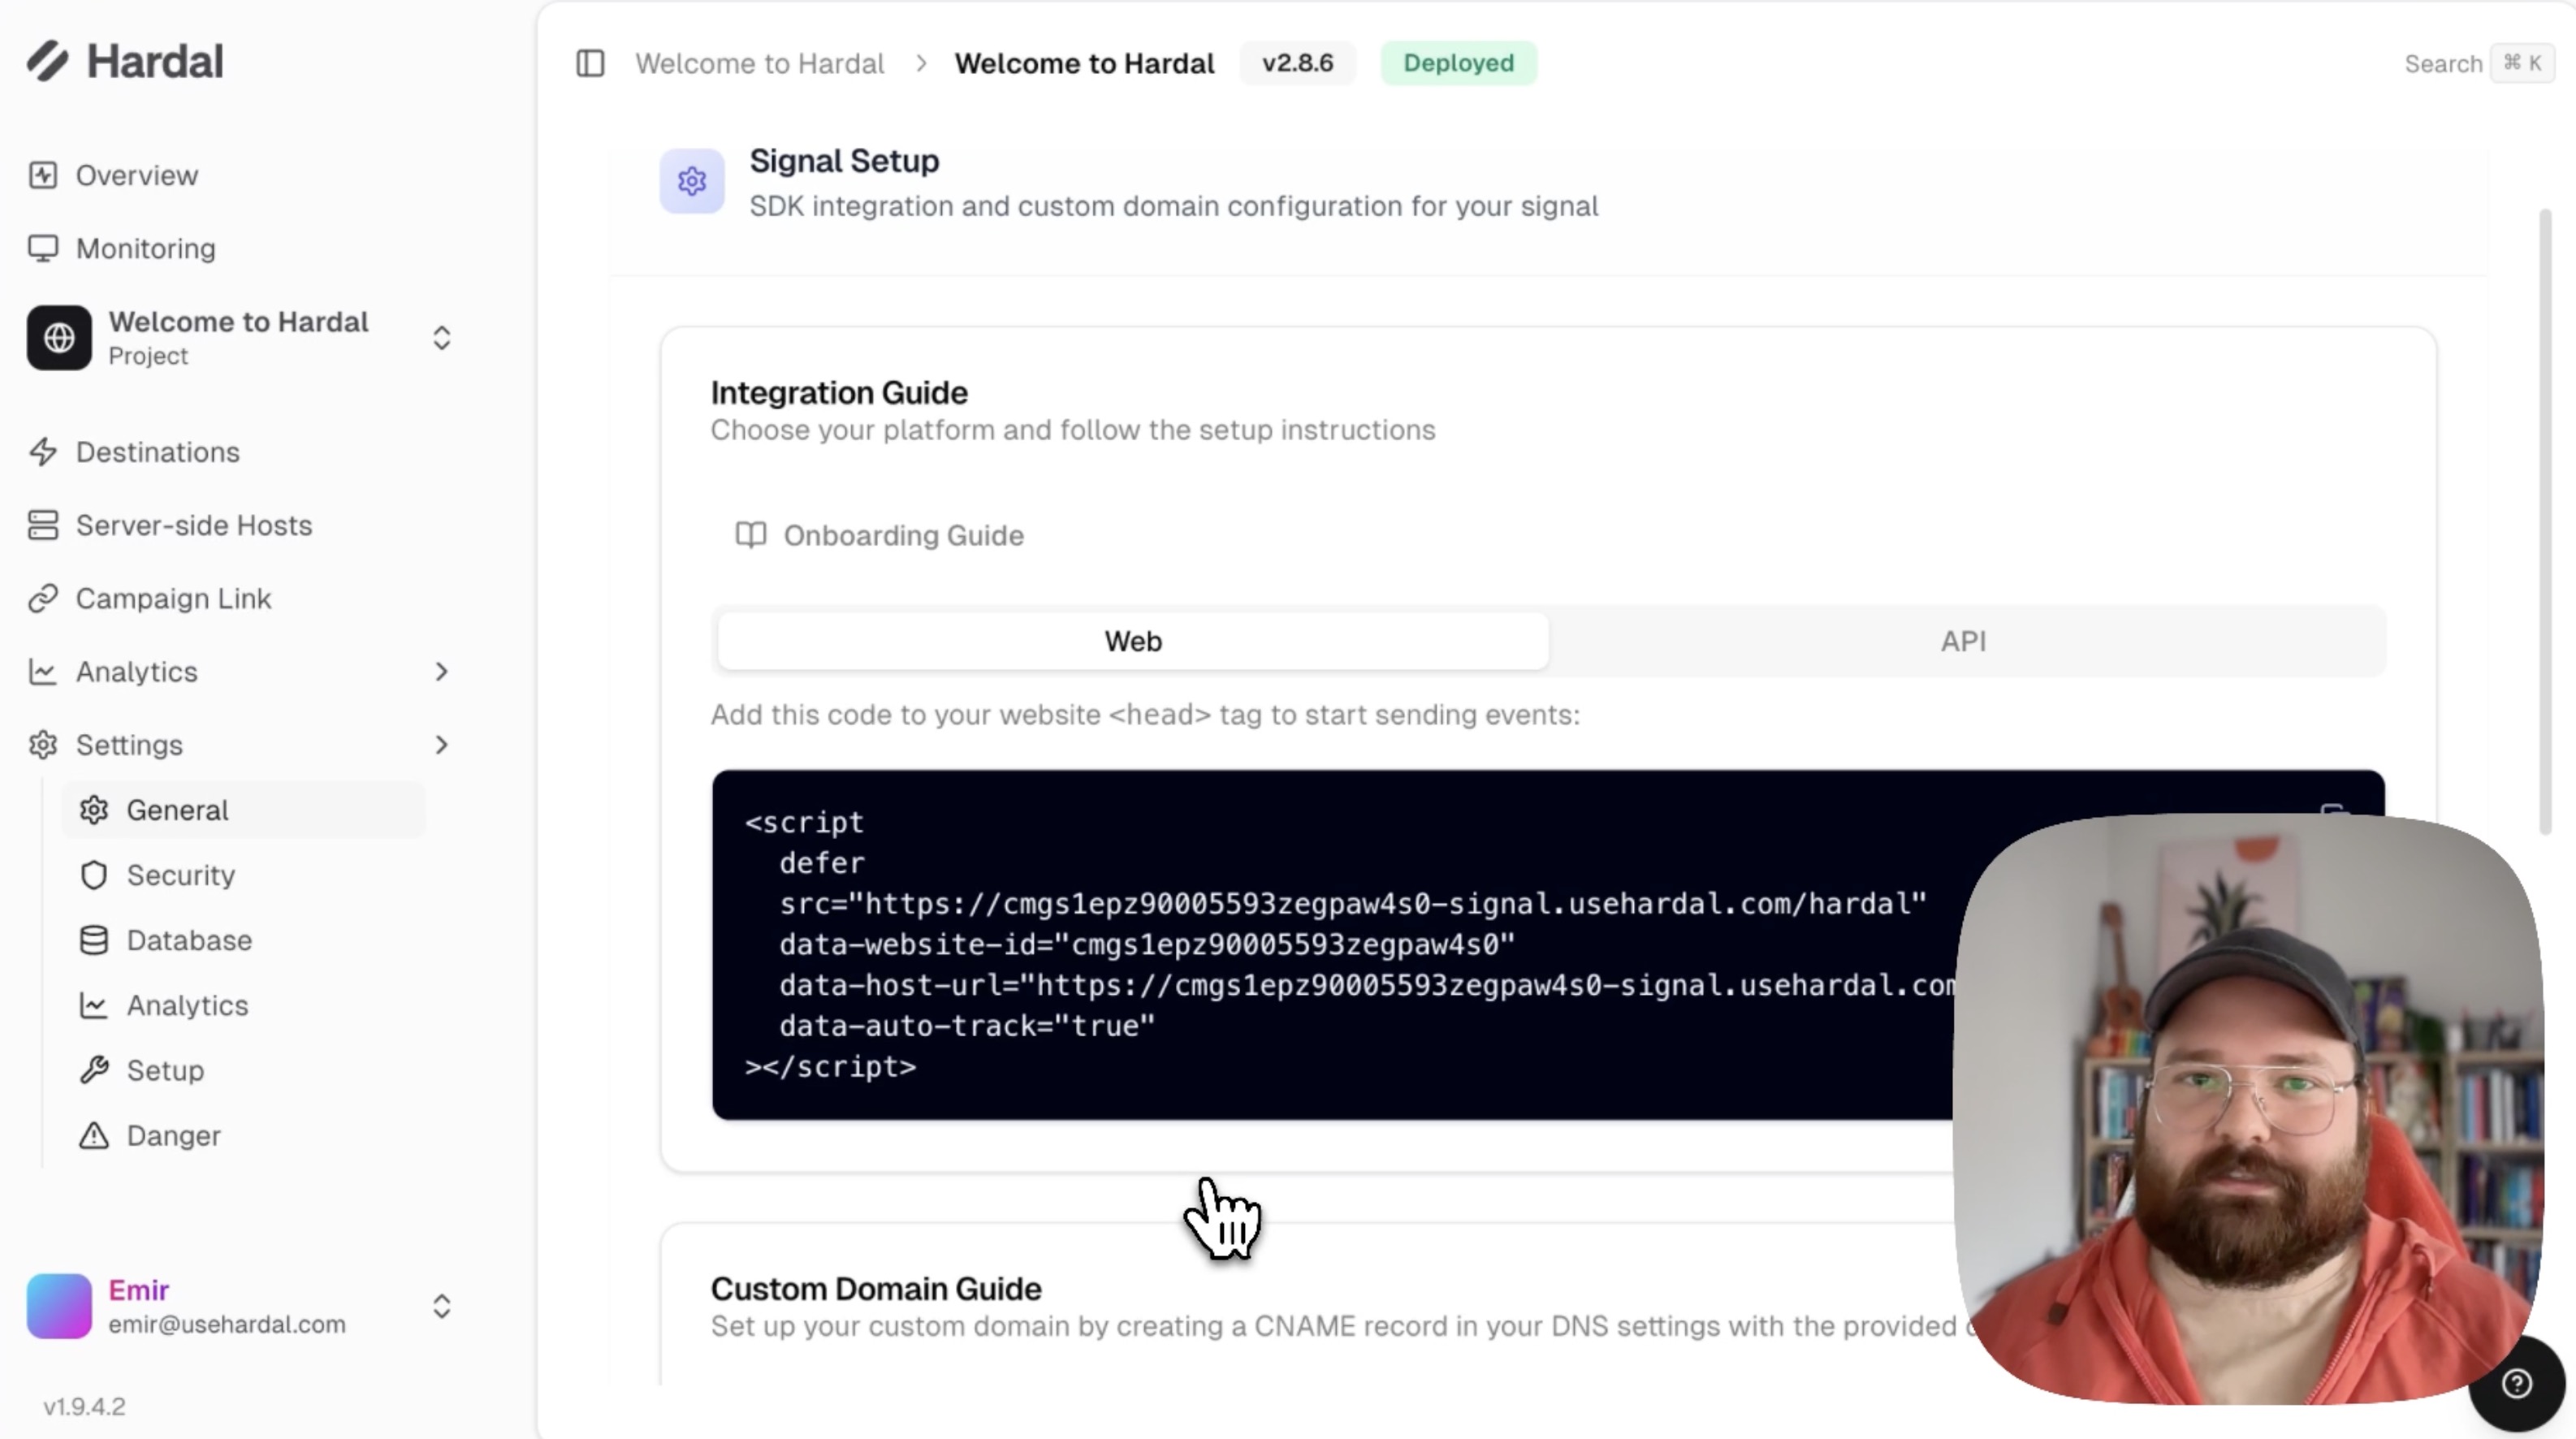
Navigate to your Hardal dashboard and select your signal. Click Settings > Setup in the left menu.
Copy the Hardal tracking script displayed on the Setup page. This is the fundamental script you'll use for cookieless tracking.
Step 2: Create a New Tag in GTM
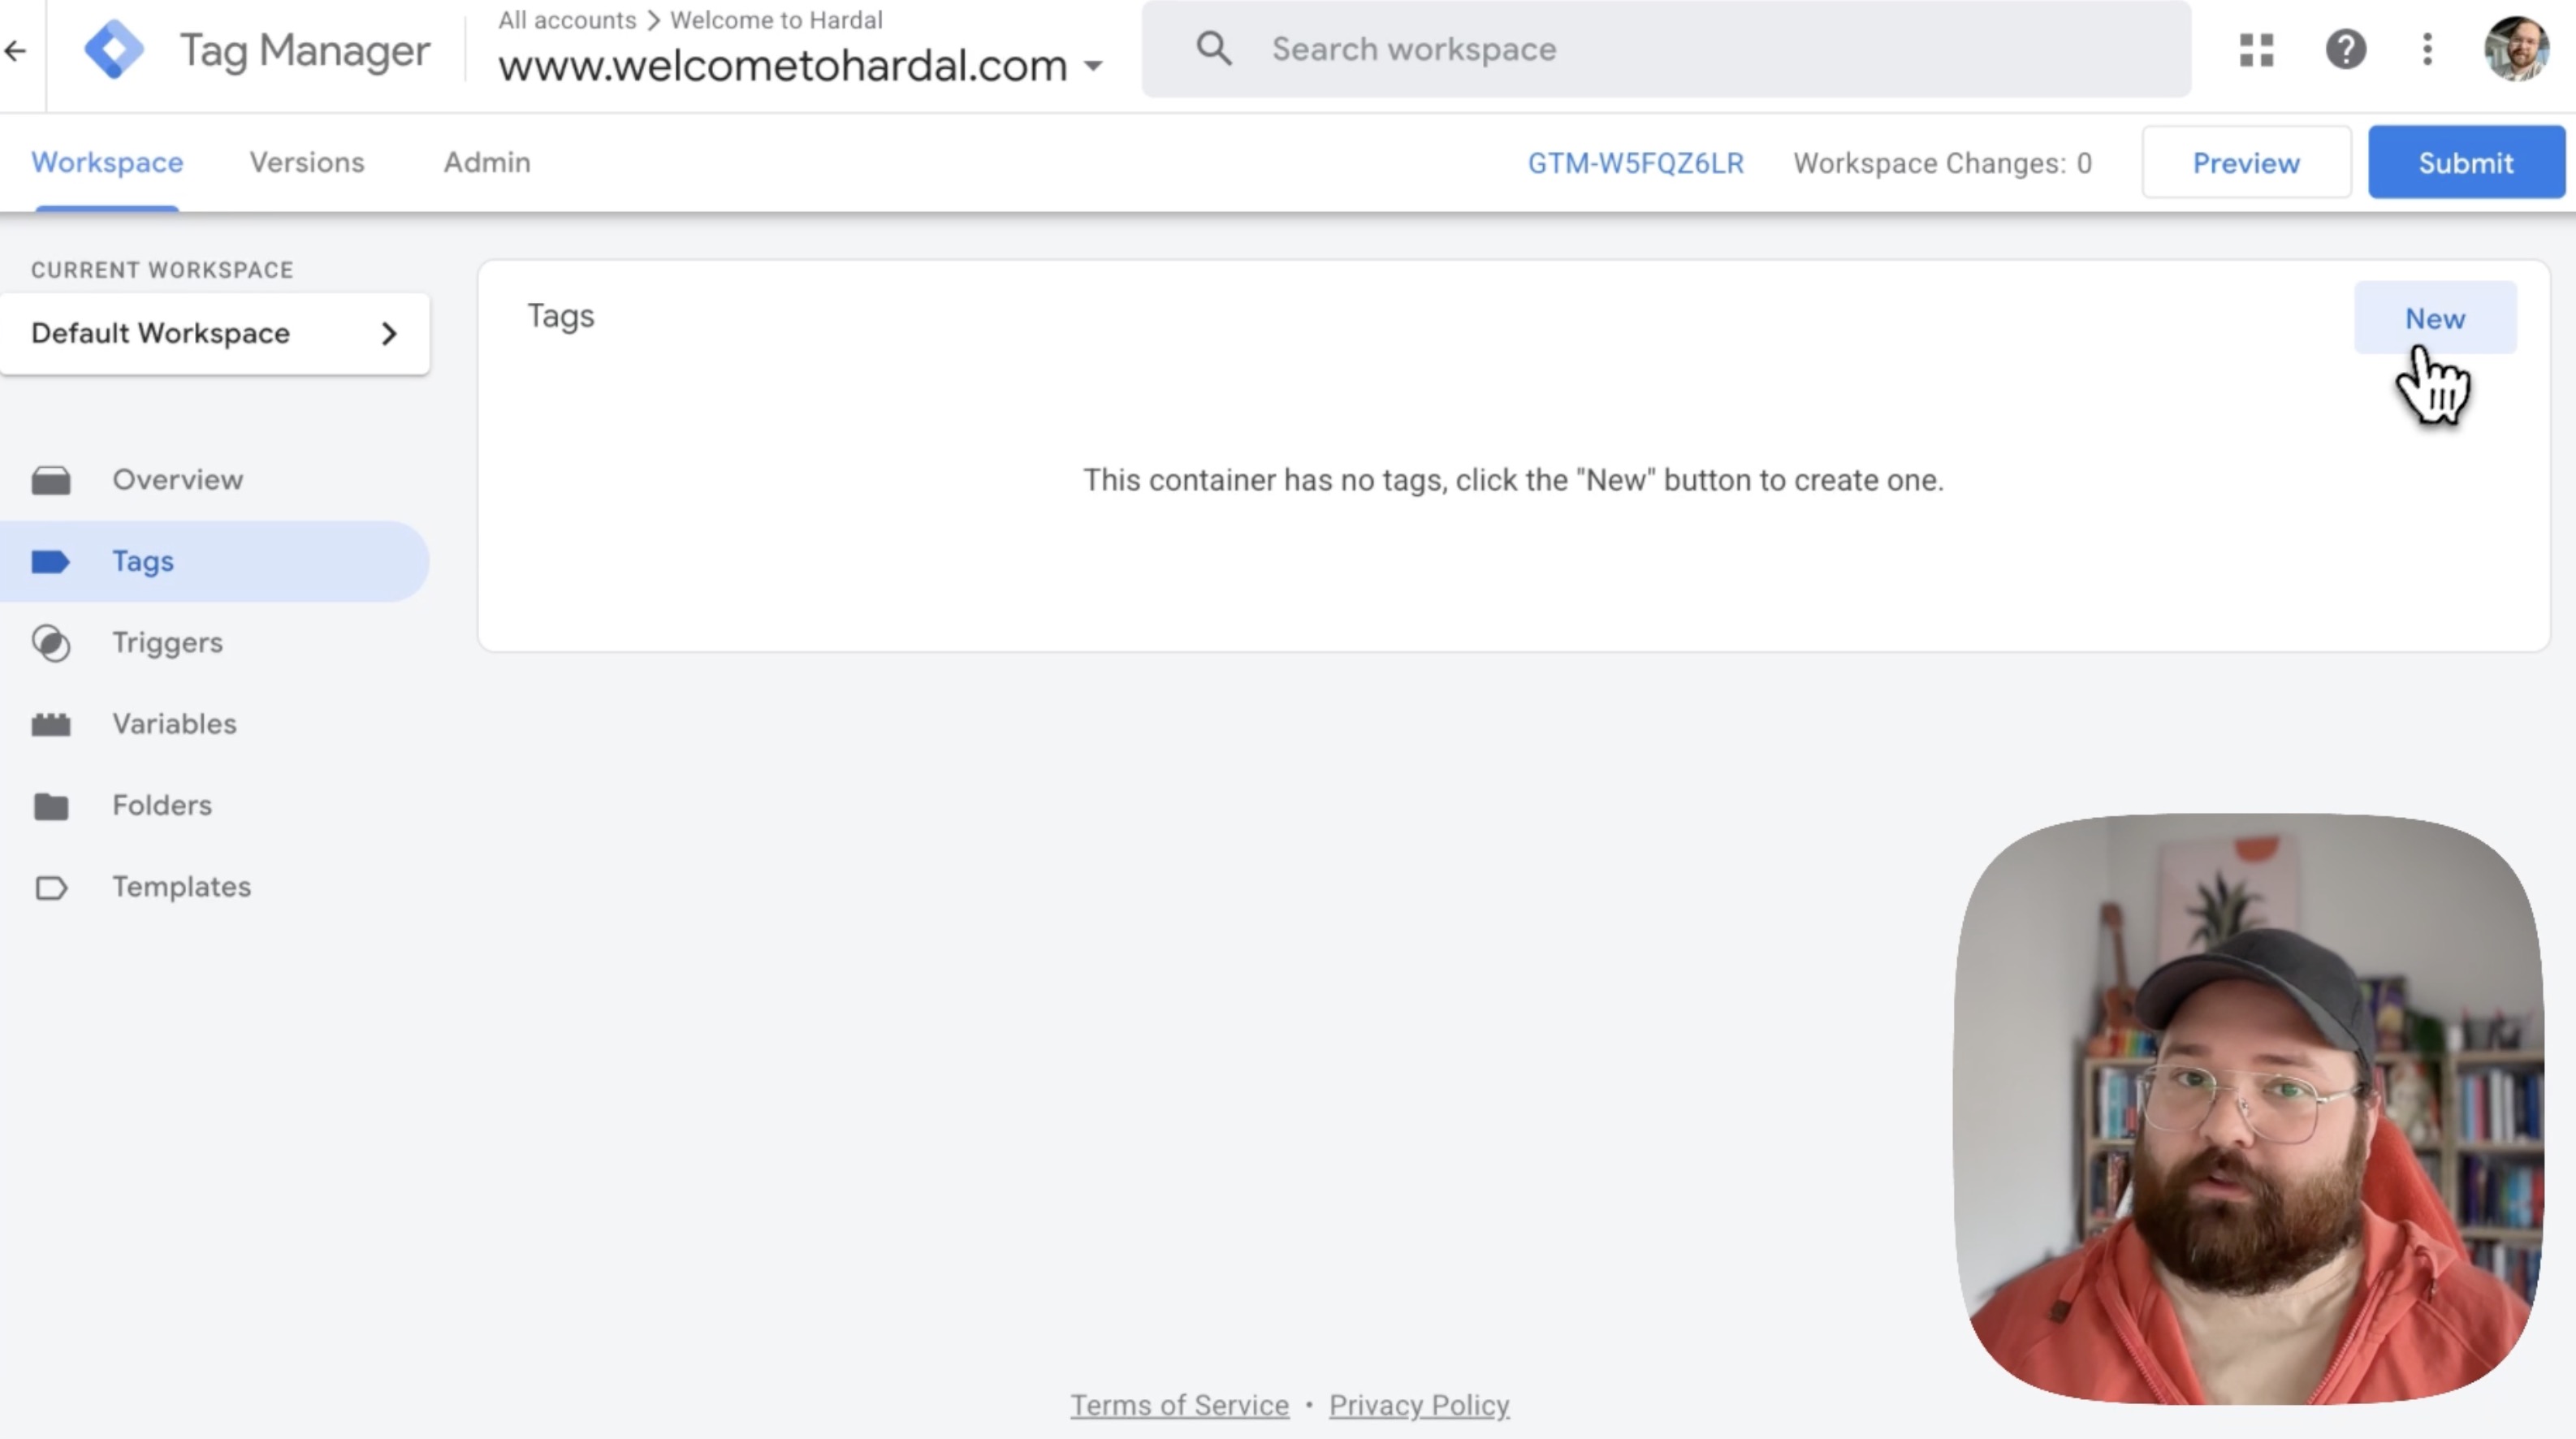
Go to your Google Tag Manager container and navigate to Tags. Click New to create a new tag.
Configure the Tag
- Click on Tag Configuration
- Select Custom HTML from the tag types
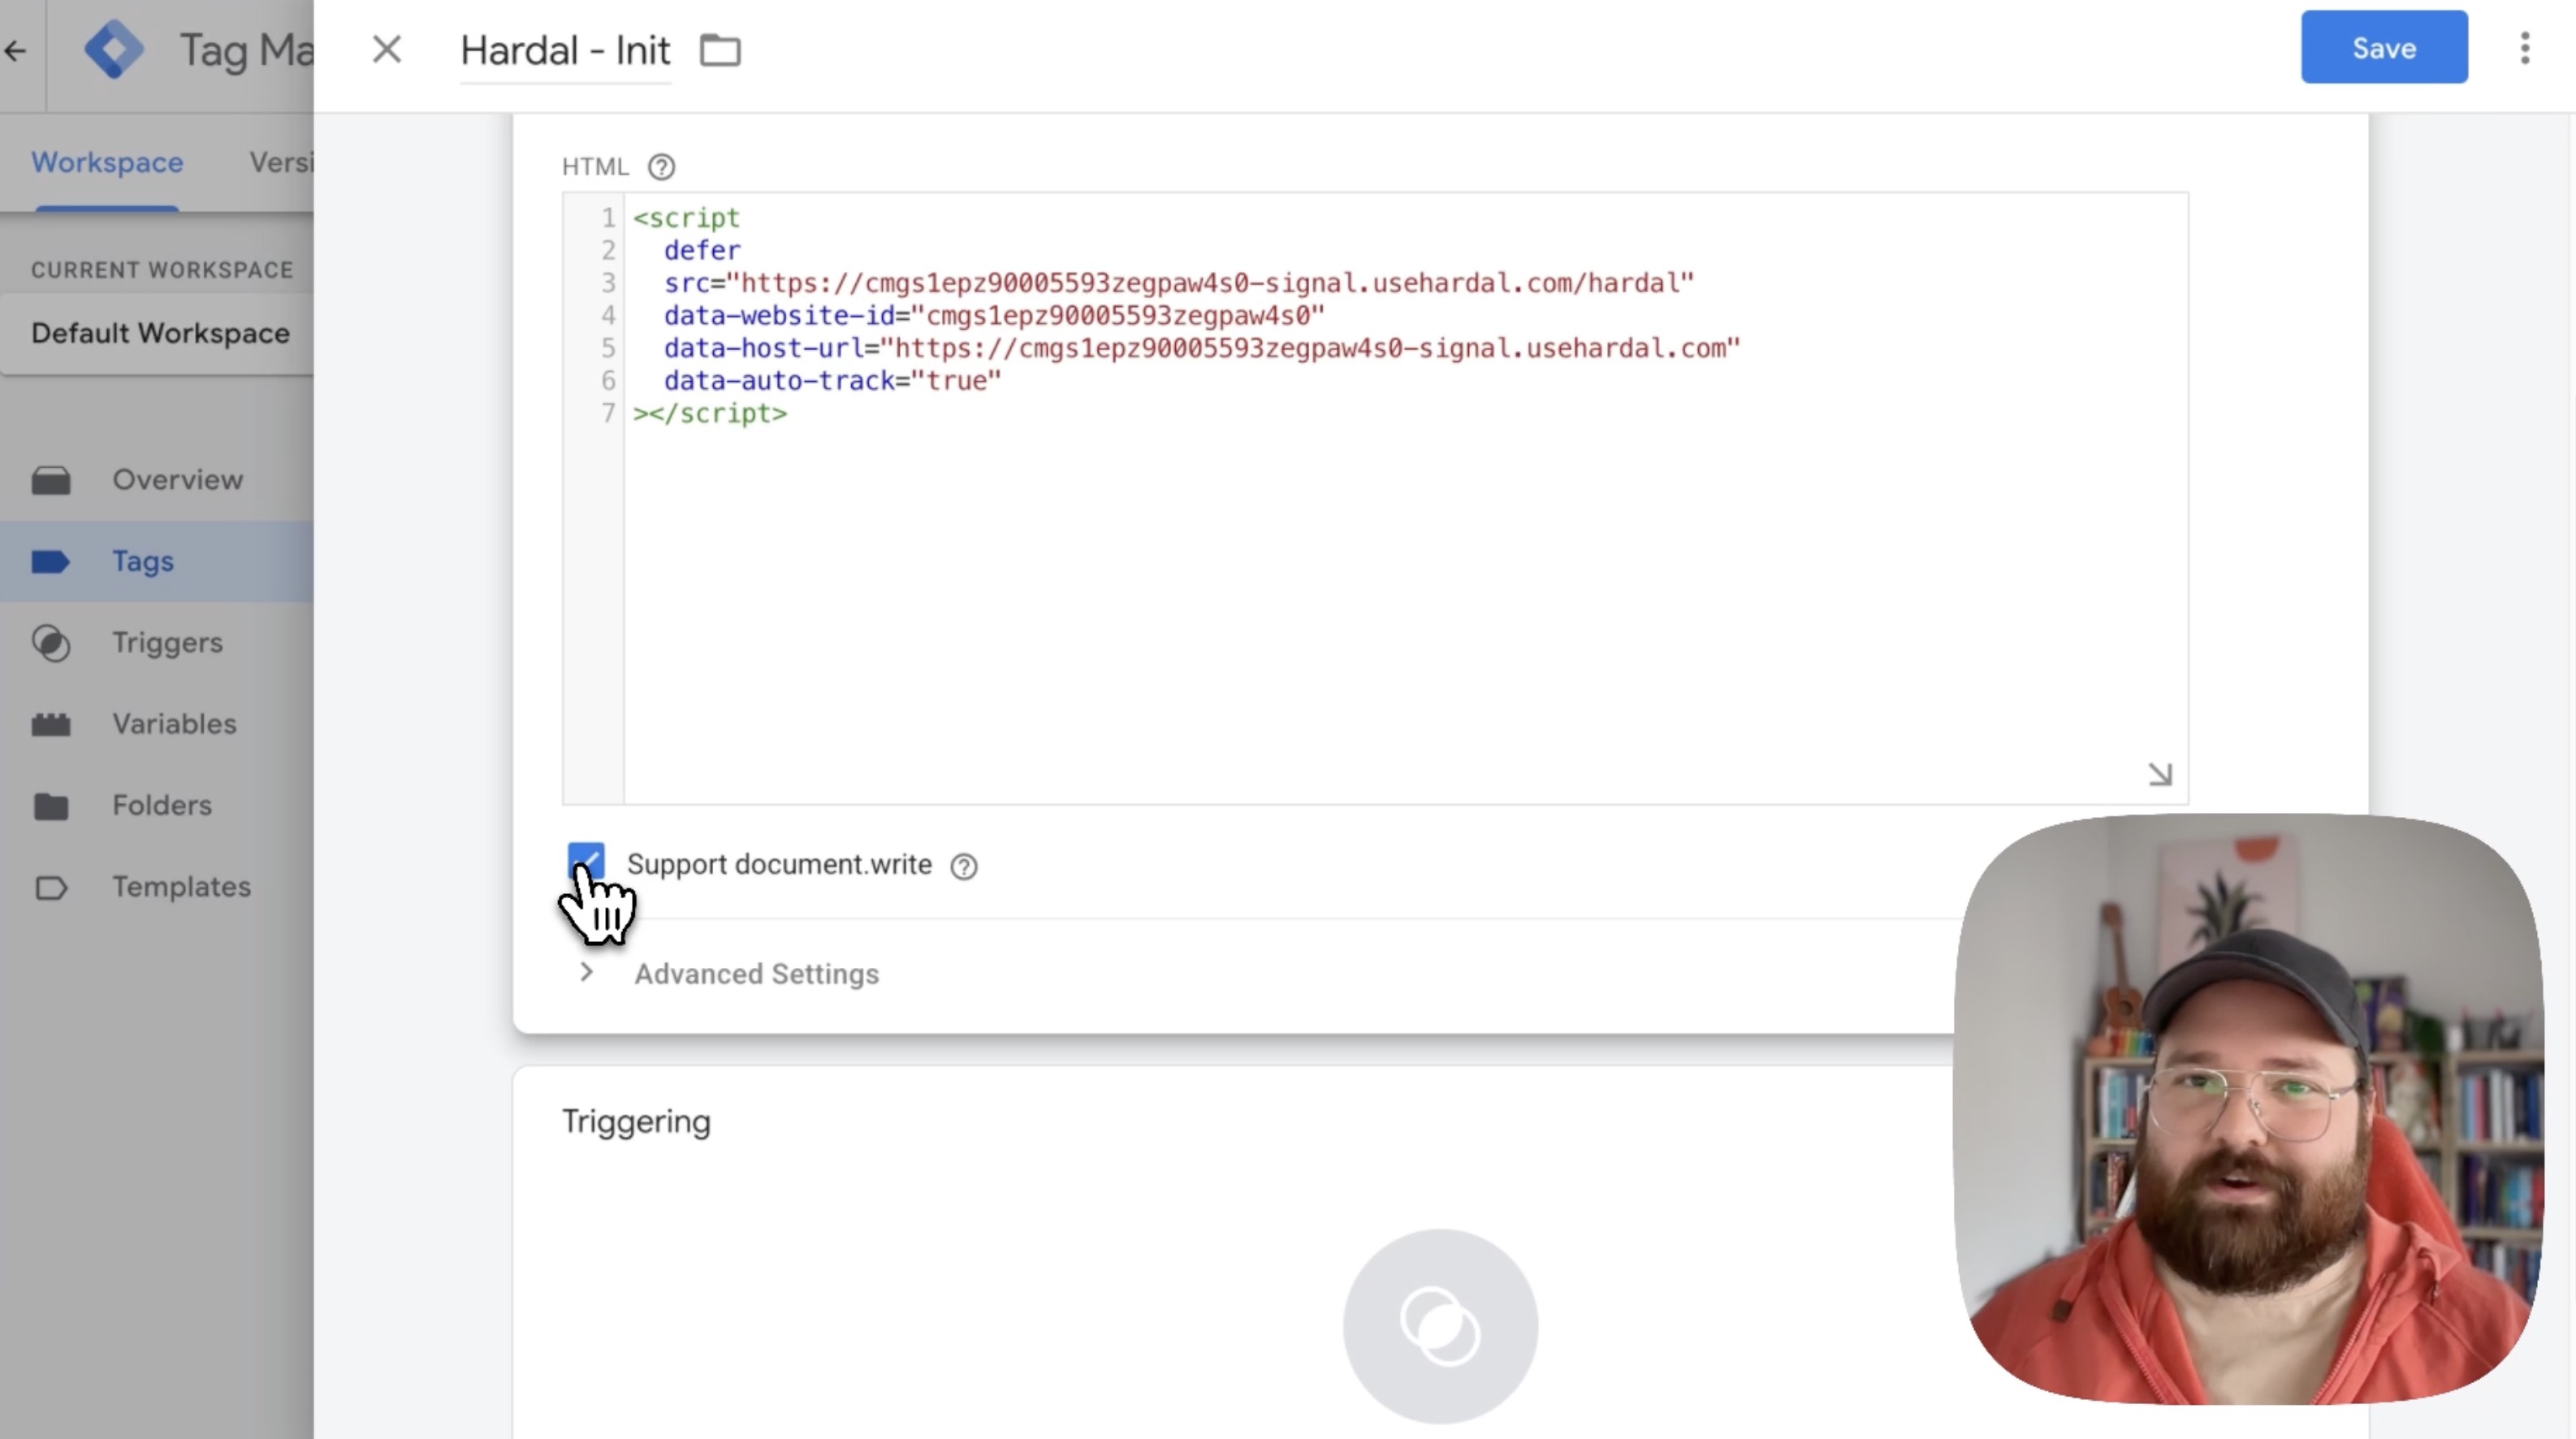
- Paste your Hardal script into the HTML field
Step 3: Configure Tag Settings
Basic Settings
Name your tag descriptively, such as "Hardal init" or "Hardal Tracking Script".
Enable document.write Support
Enable Support document.write to ensure the script tracks events properly. This setting allows the script to function correctly across all scenarios.
Advanced Settings
Click on Advanced Settings and configure:
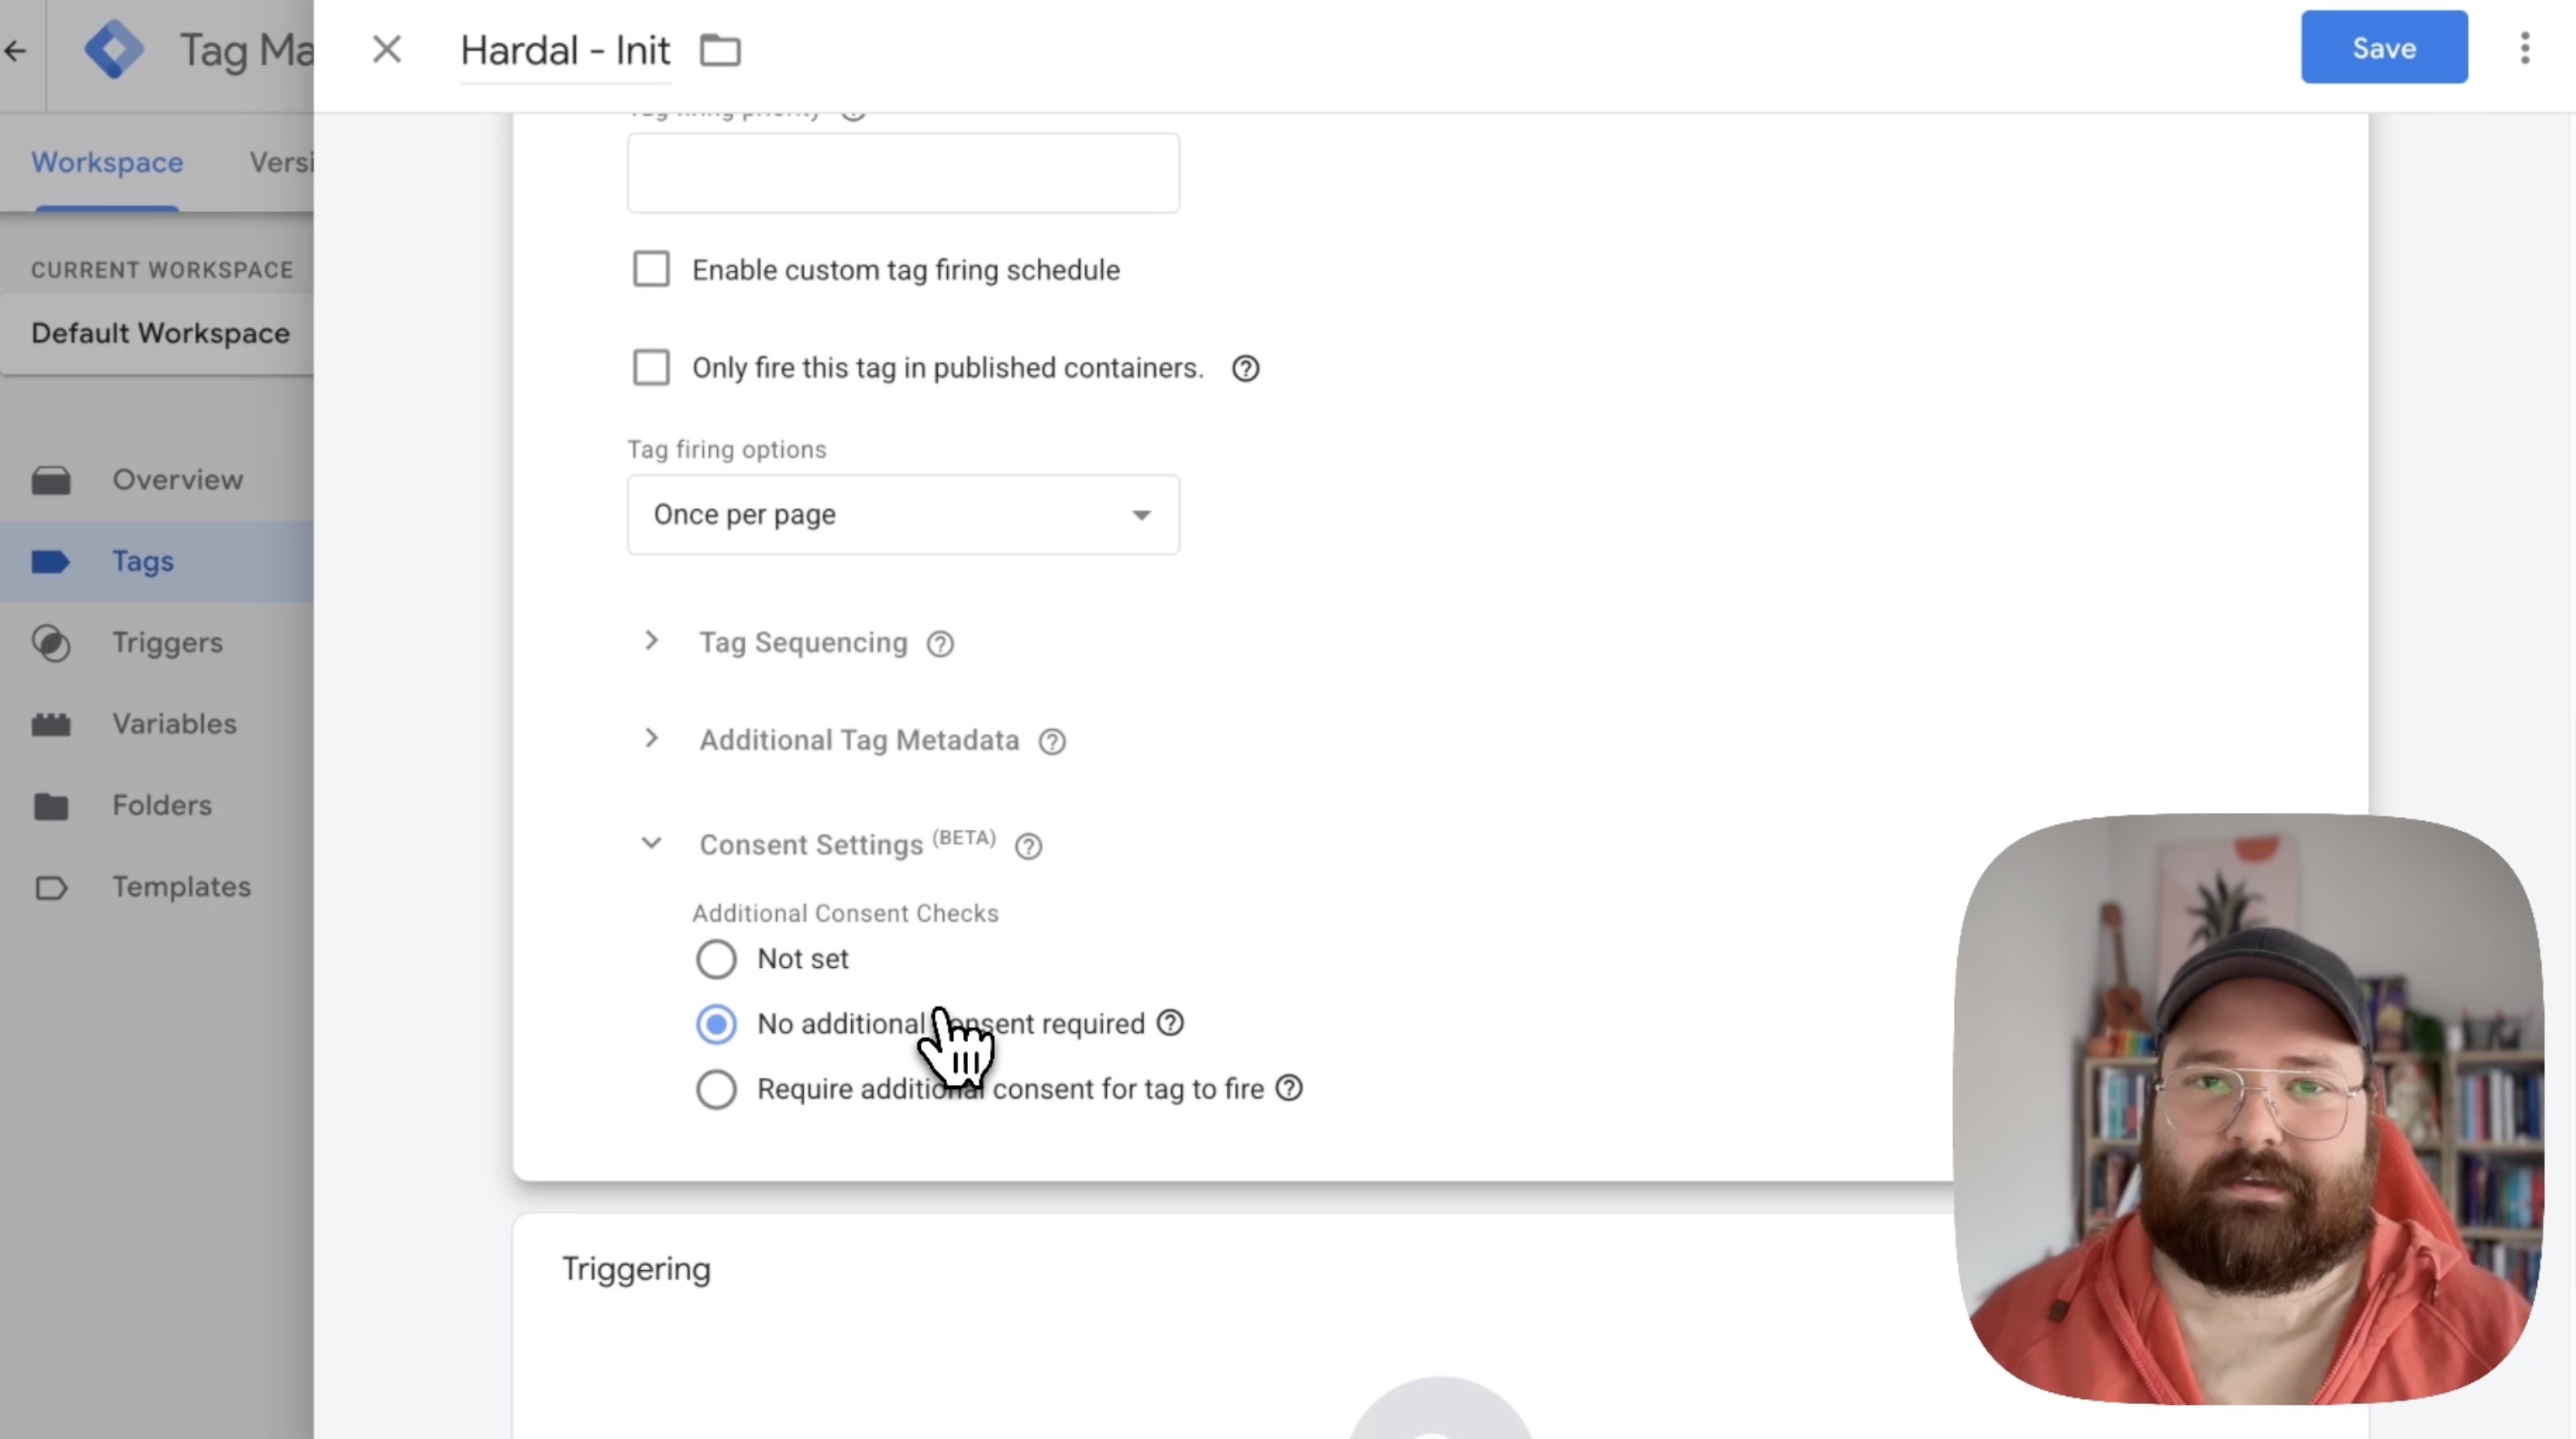
Tag firing options: Select "Once per page" to ensure the script loads only once per page view.
Consent Settings: Choose "No additional consent required" since Hardal uses cookieless tracking. However, always ensure this aligns with your company's privacy policies and legal requirements.
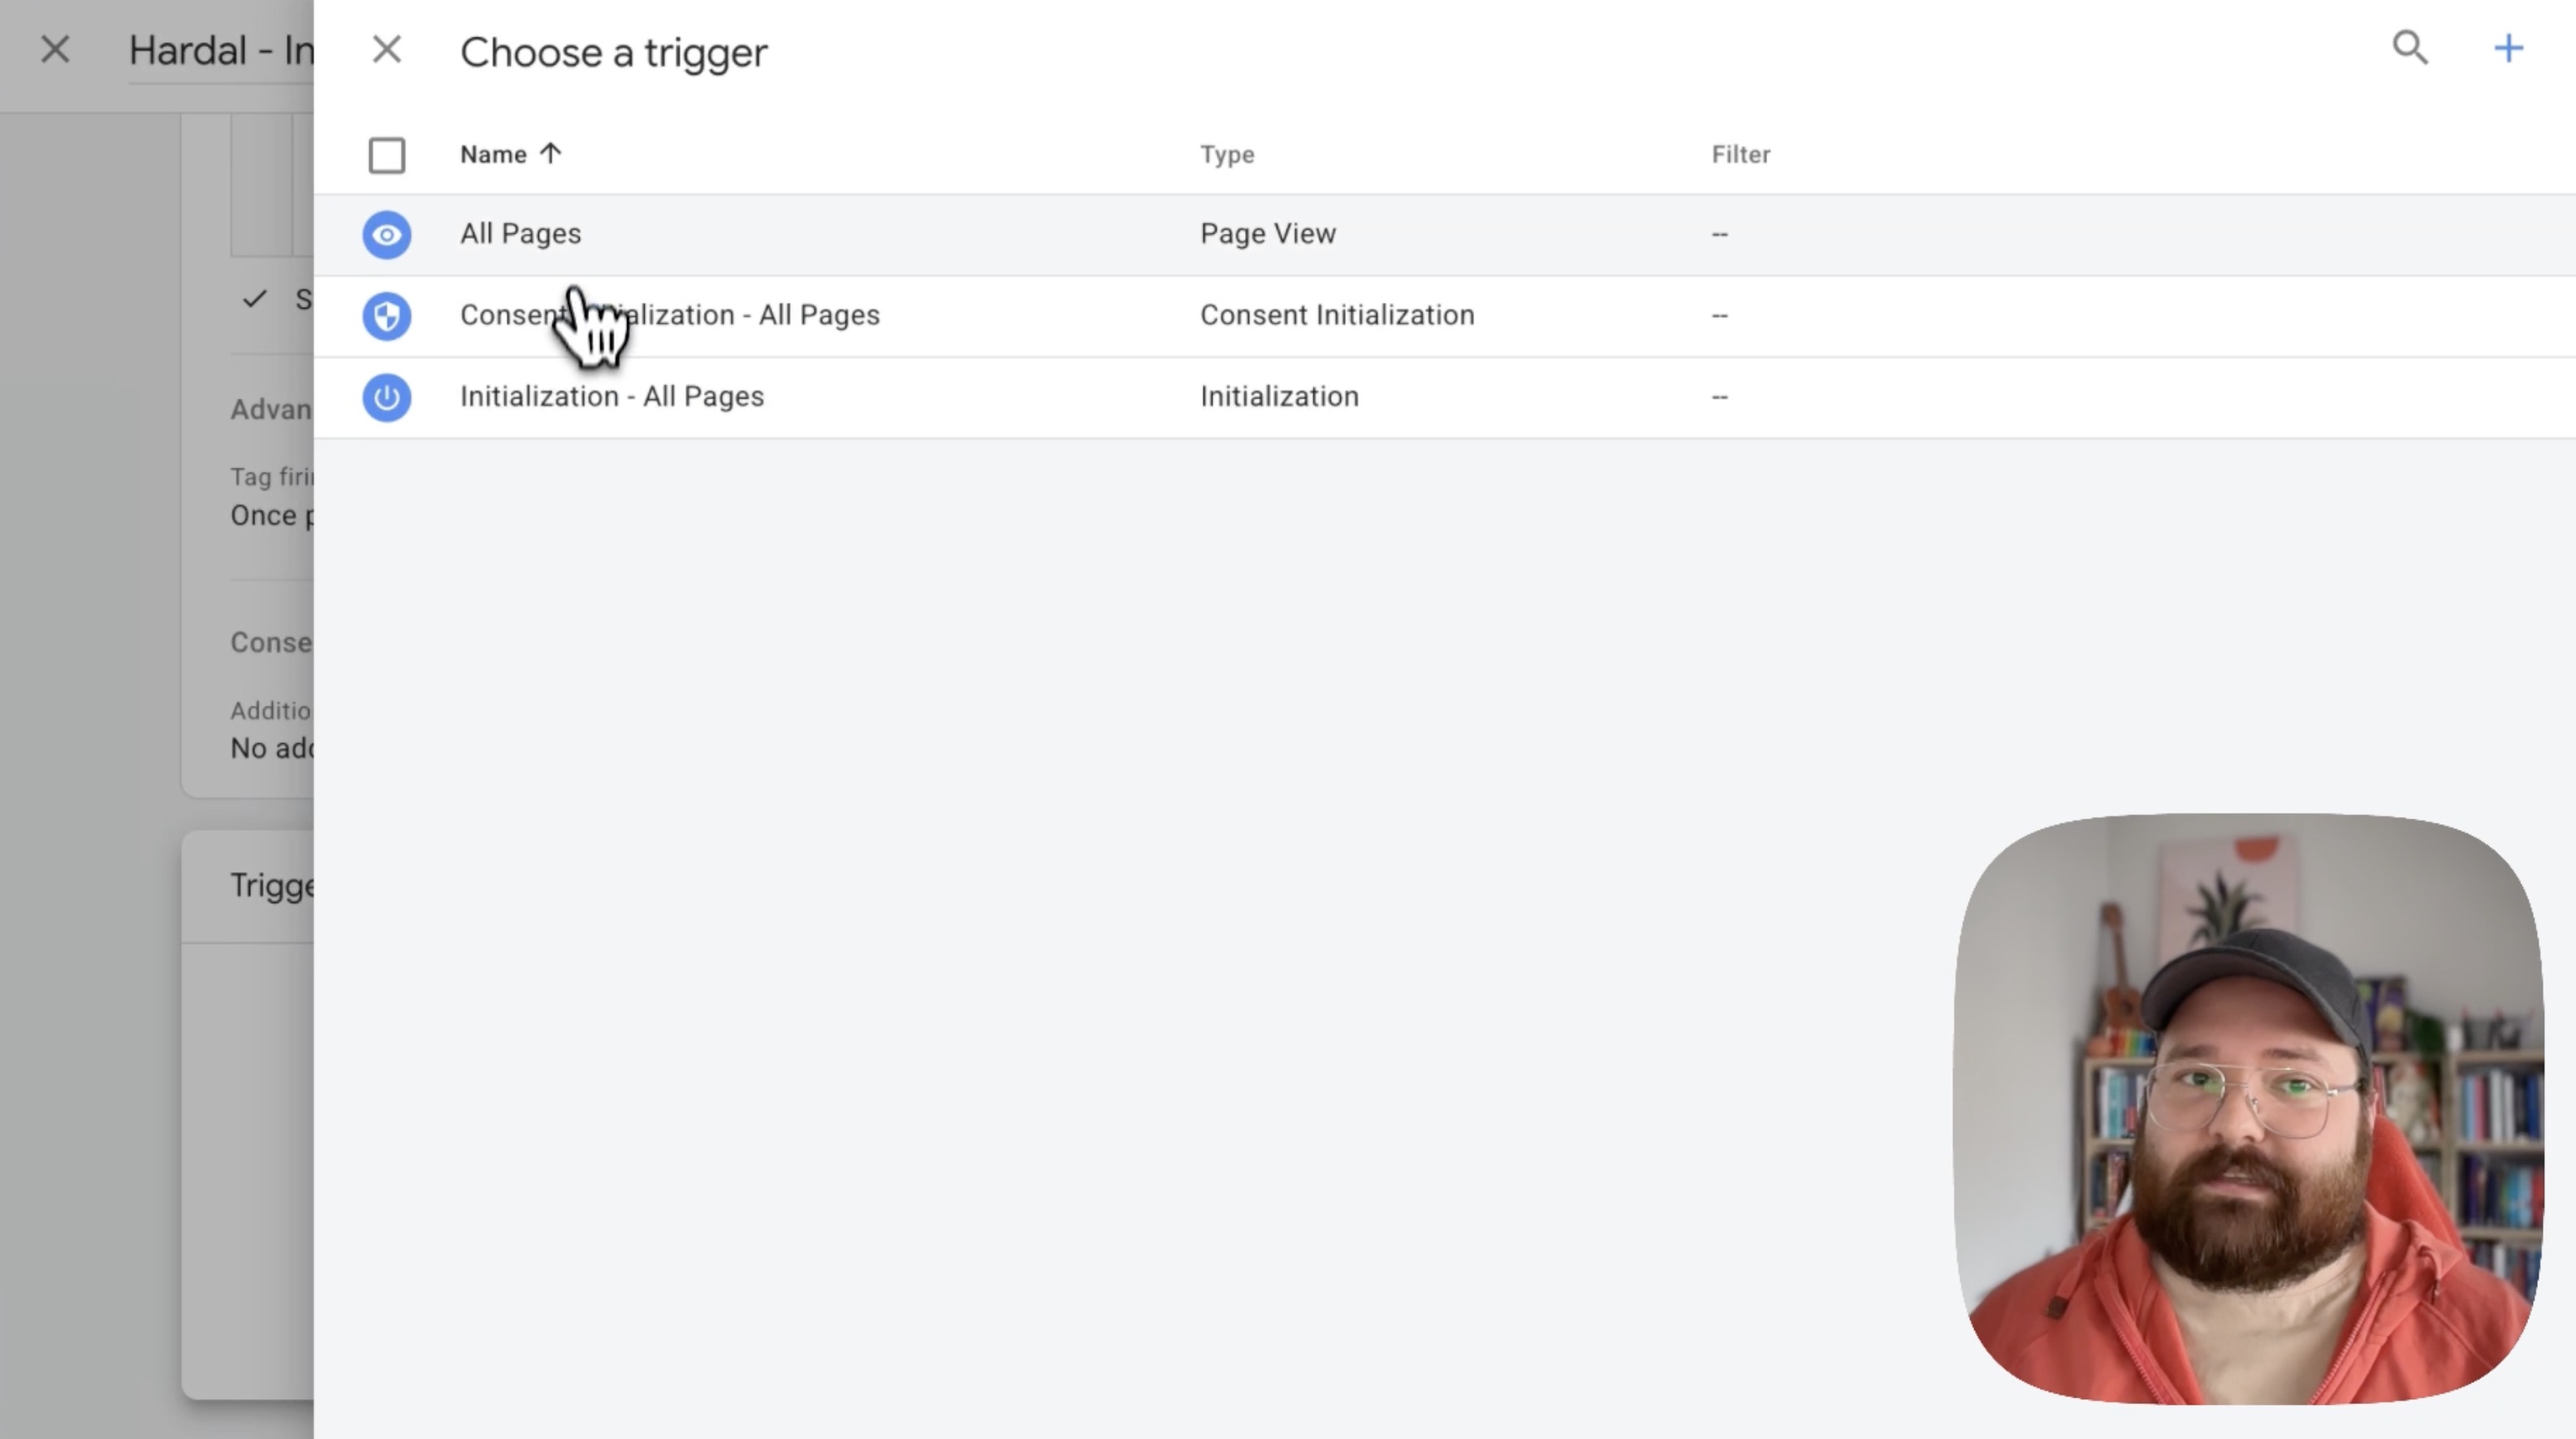
Step 4: Set the Trigger
Select a trigger for when the tag should fire. For initial setup, choose All Pages to track all page views.
Step 5: Save and Publish
- Click Save to save your tag
- Click Submit to publish your changes to your live website
- Add a version name and description for your records
Your Hardal cookieless analytics is now active and tracking visitors on your website through Google Tag Manager.
Verify Your Installation
To confirm everything is working:
- Visit your website
- Open browser Developer Tools (F12)
- Check the Network tab for Hardal requests
- Visit your Hardal dashboard to see incoming events
For more advanced configurations, see our guides on custom events and user identification.
For a more detailed walkthrough, check out our step-by-step guide. How To Set Up Hardal Via Google Tag Manager