Google Tag Manager makes it easy to set up custom event tracking without modifying your website's code directly. This guide shows you how to track custom events with Hardal using GTM.
Prerequisites
Before starting, ensure you have:
- Hardal tracking script installed via Google Tag Manager
- Access to your Google Tag Manager container
- Basic understanding of GTM tags and triggers
If you haven't set up Hardal with GTM yet, see our GTM setup guide.
Creating a Basic Event Tag
Step 1: Create New Tag
In Google Tag Manager:
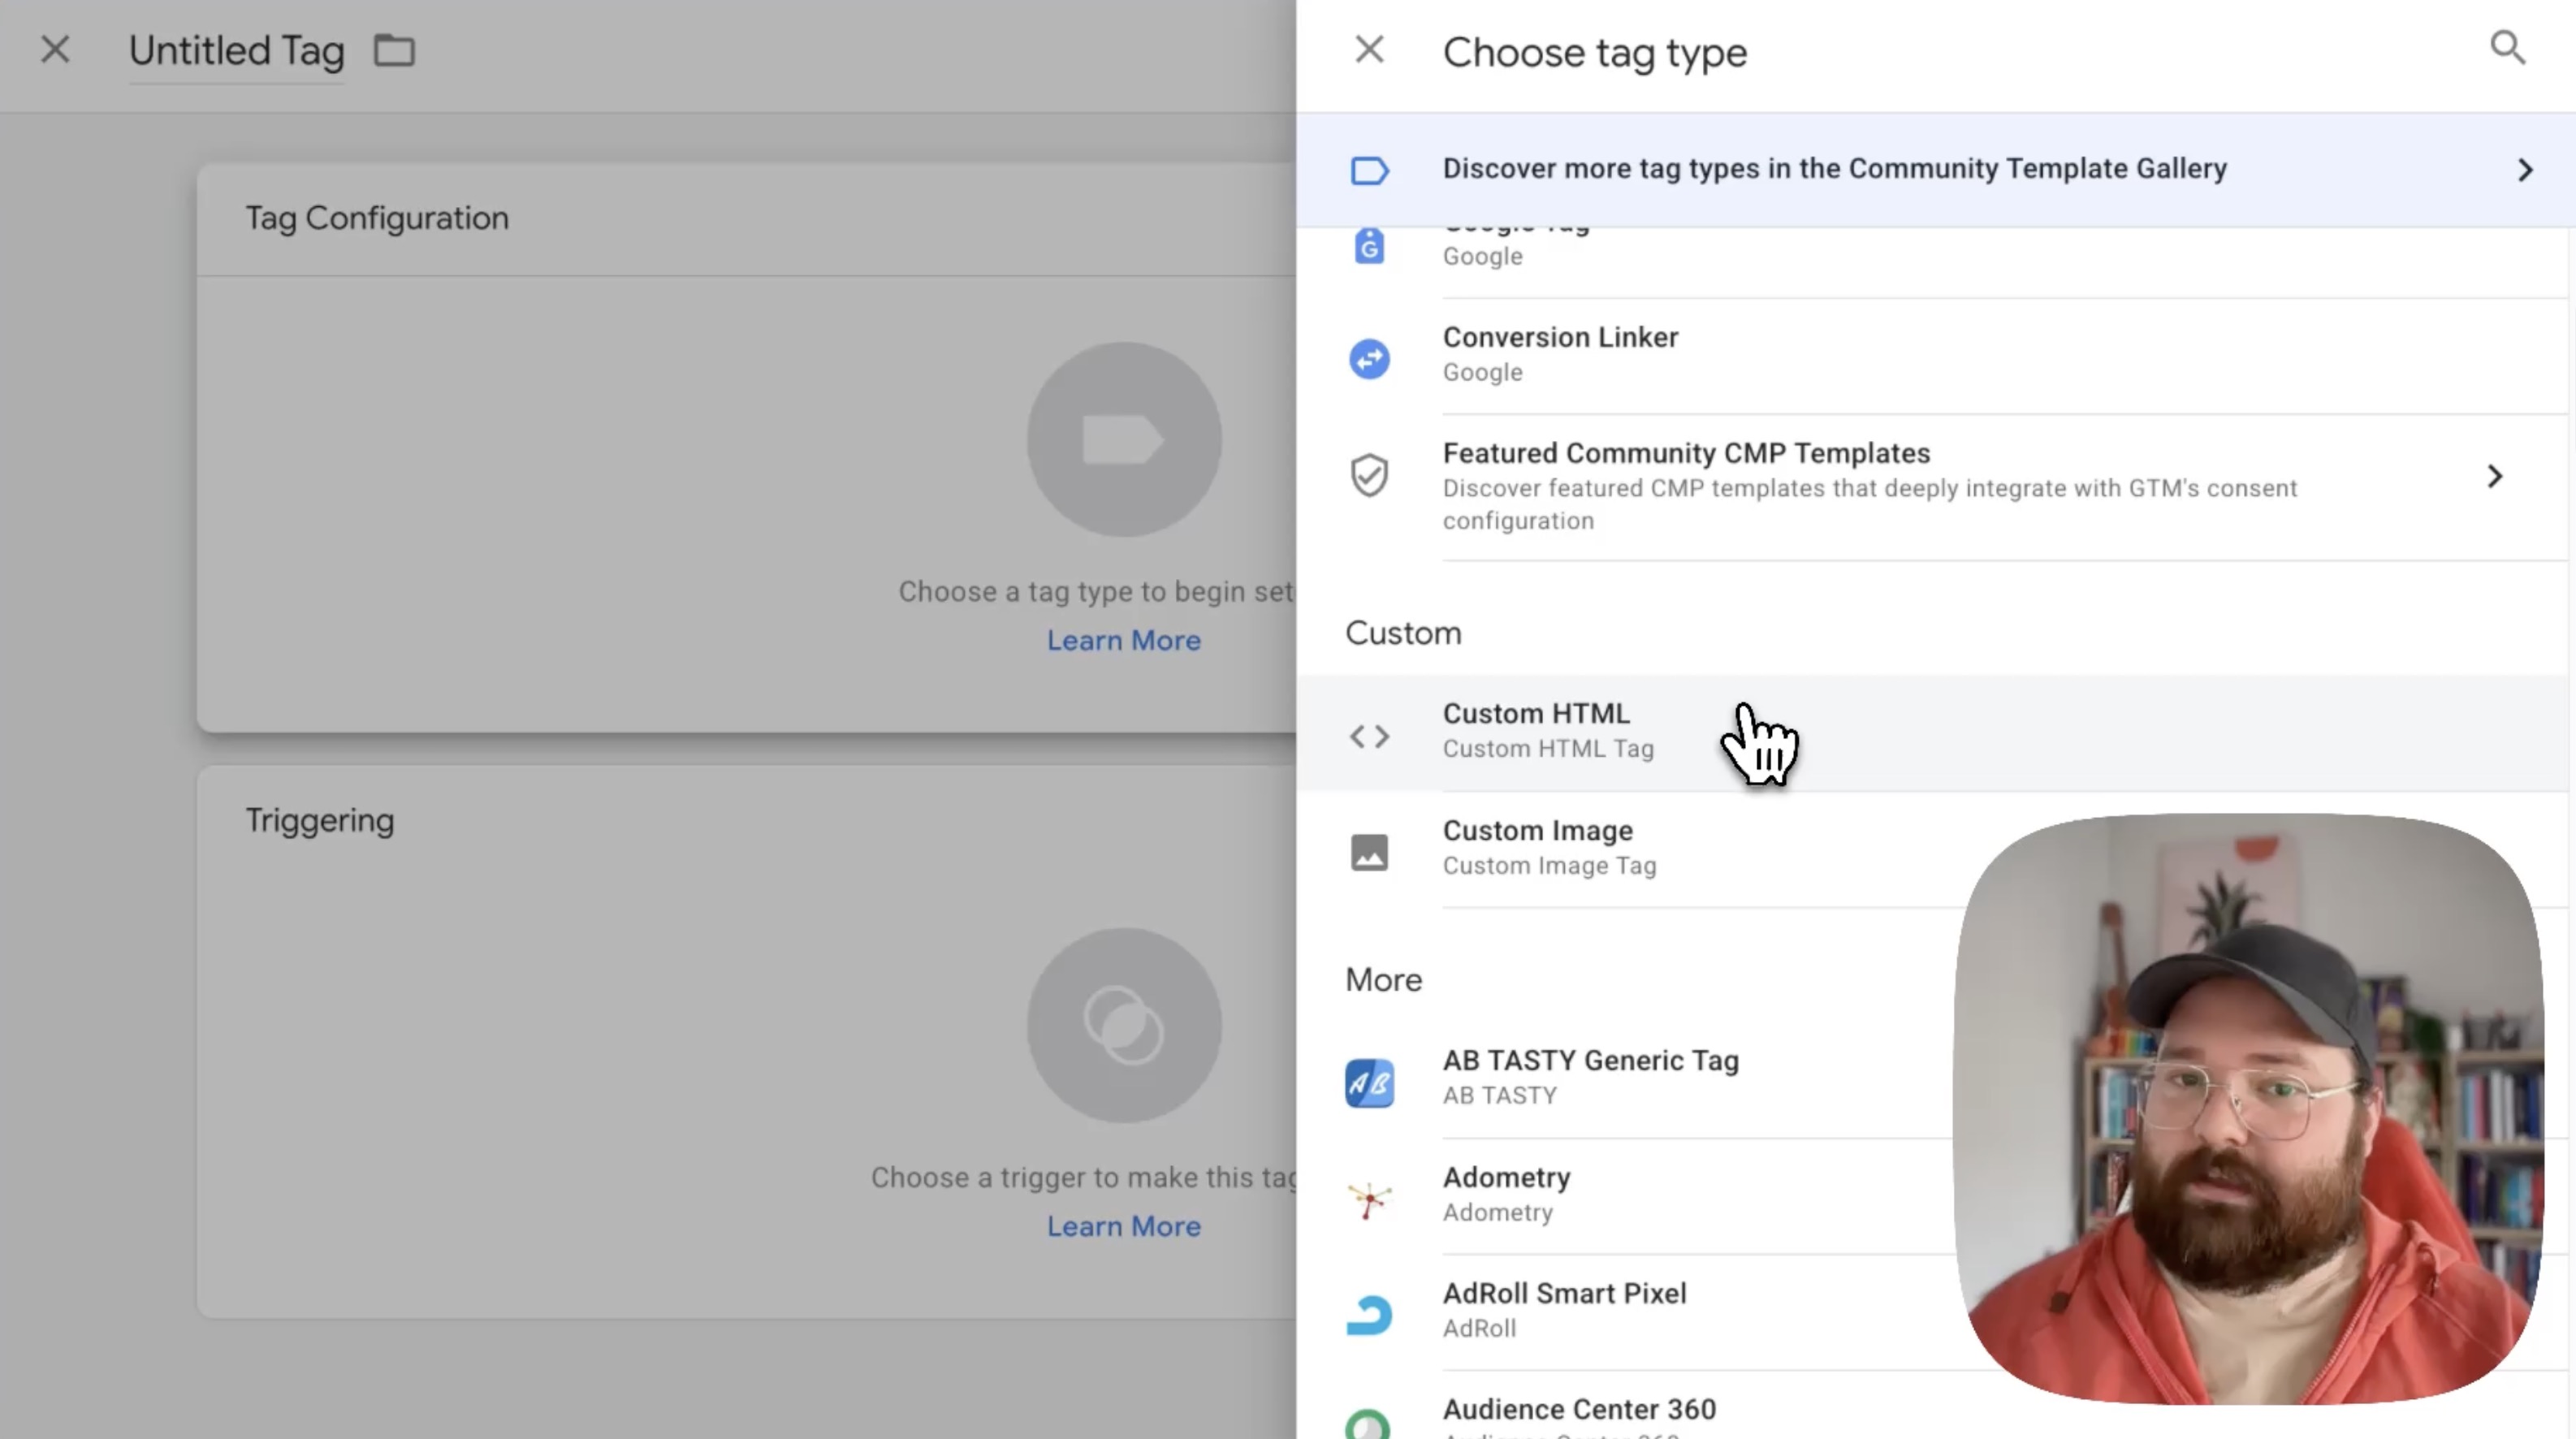
- Navigate to Tags
- Click New
- Click on Tag Configuration
- Select Custom HTML
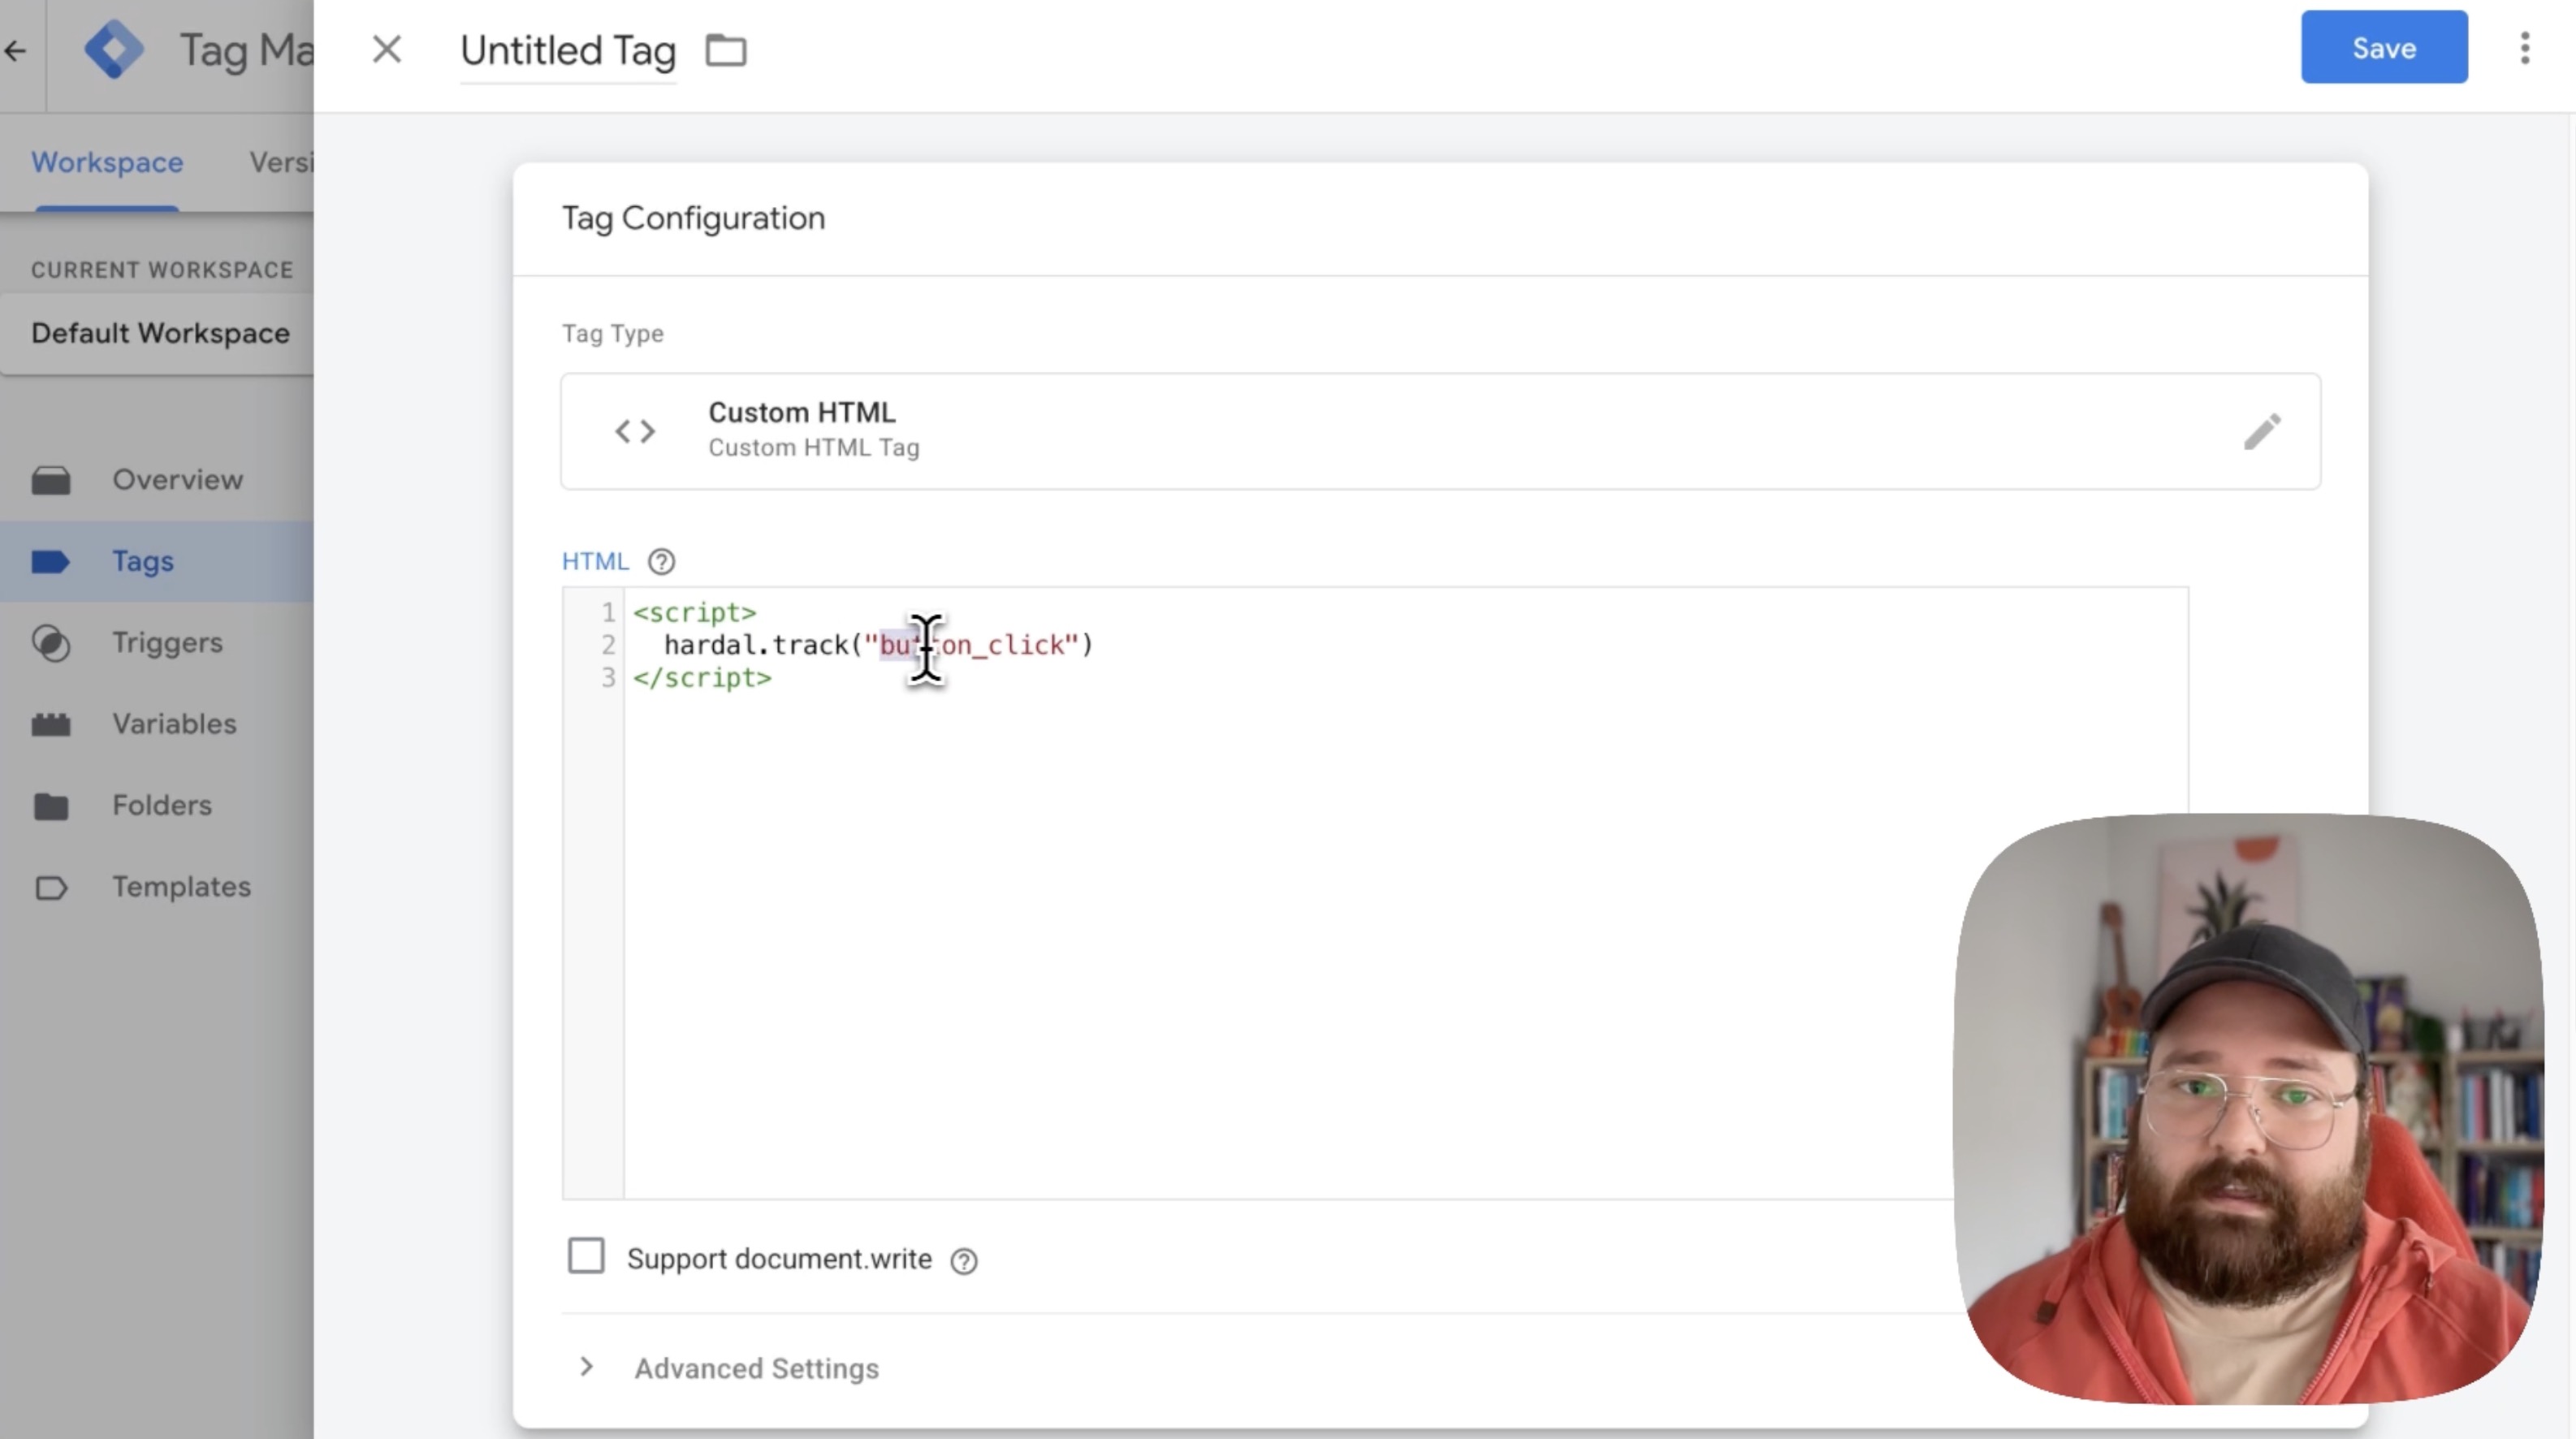
Step 2: Add Event Tracking Script
In the HTML field, add this code:
<script>
  hardal.track('button_click');
</script>
This simple script tracks a button click event.
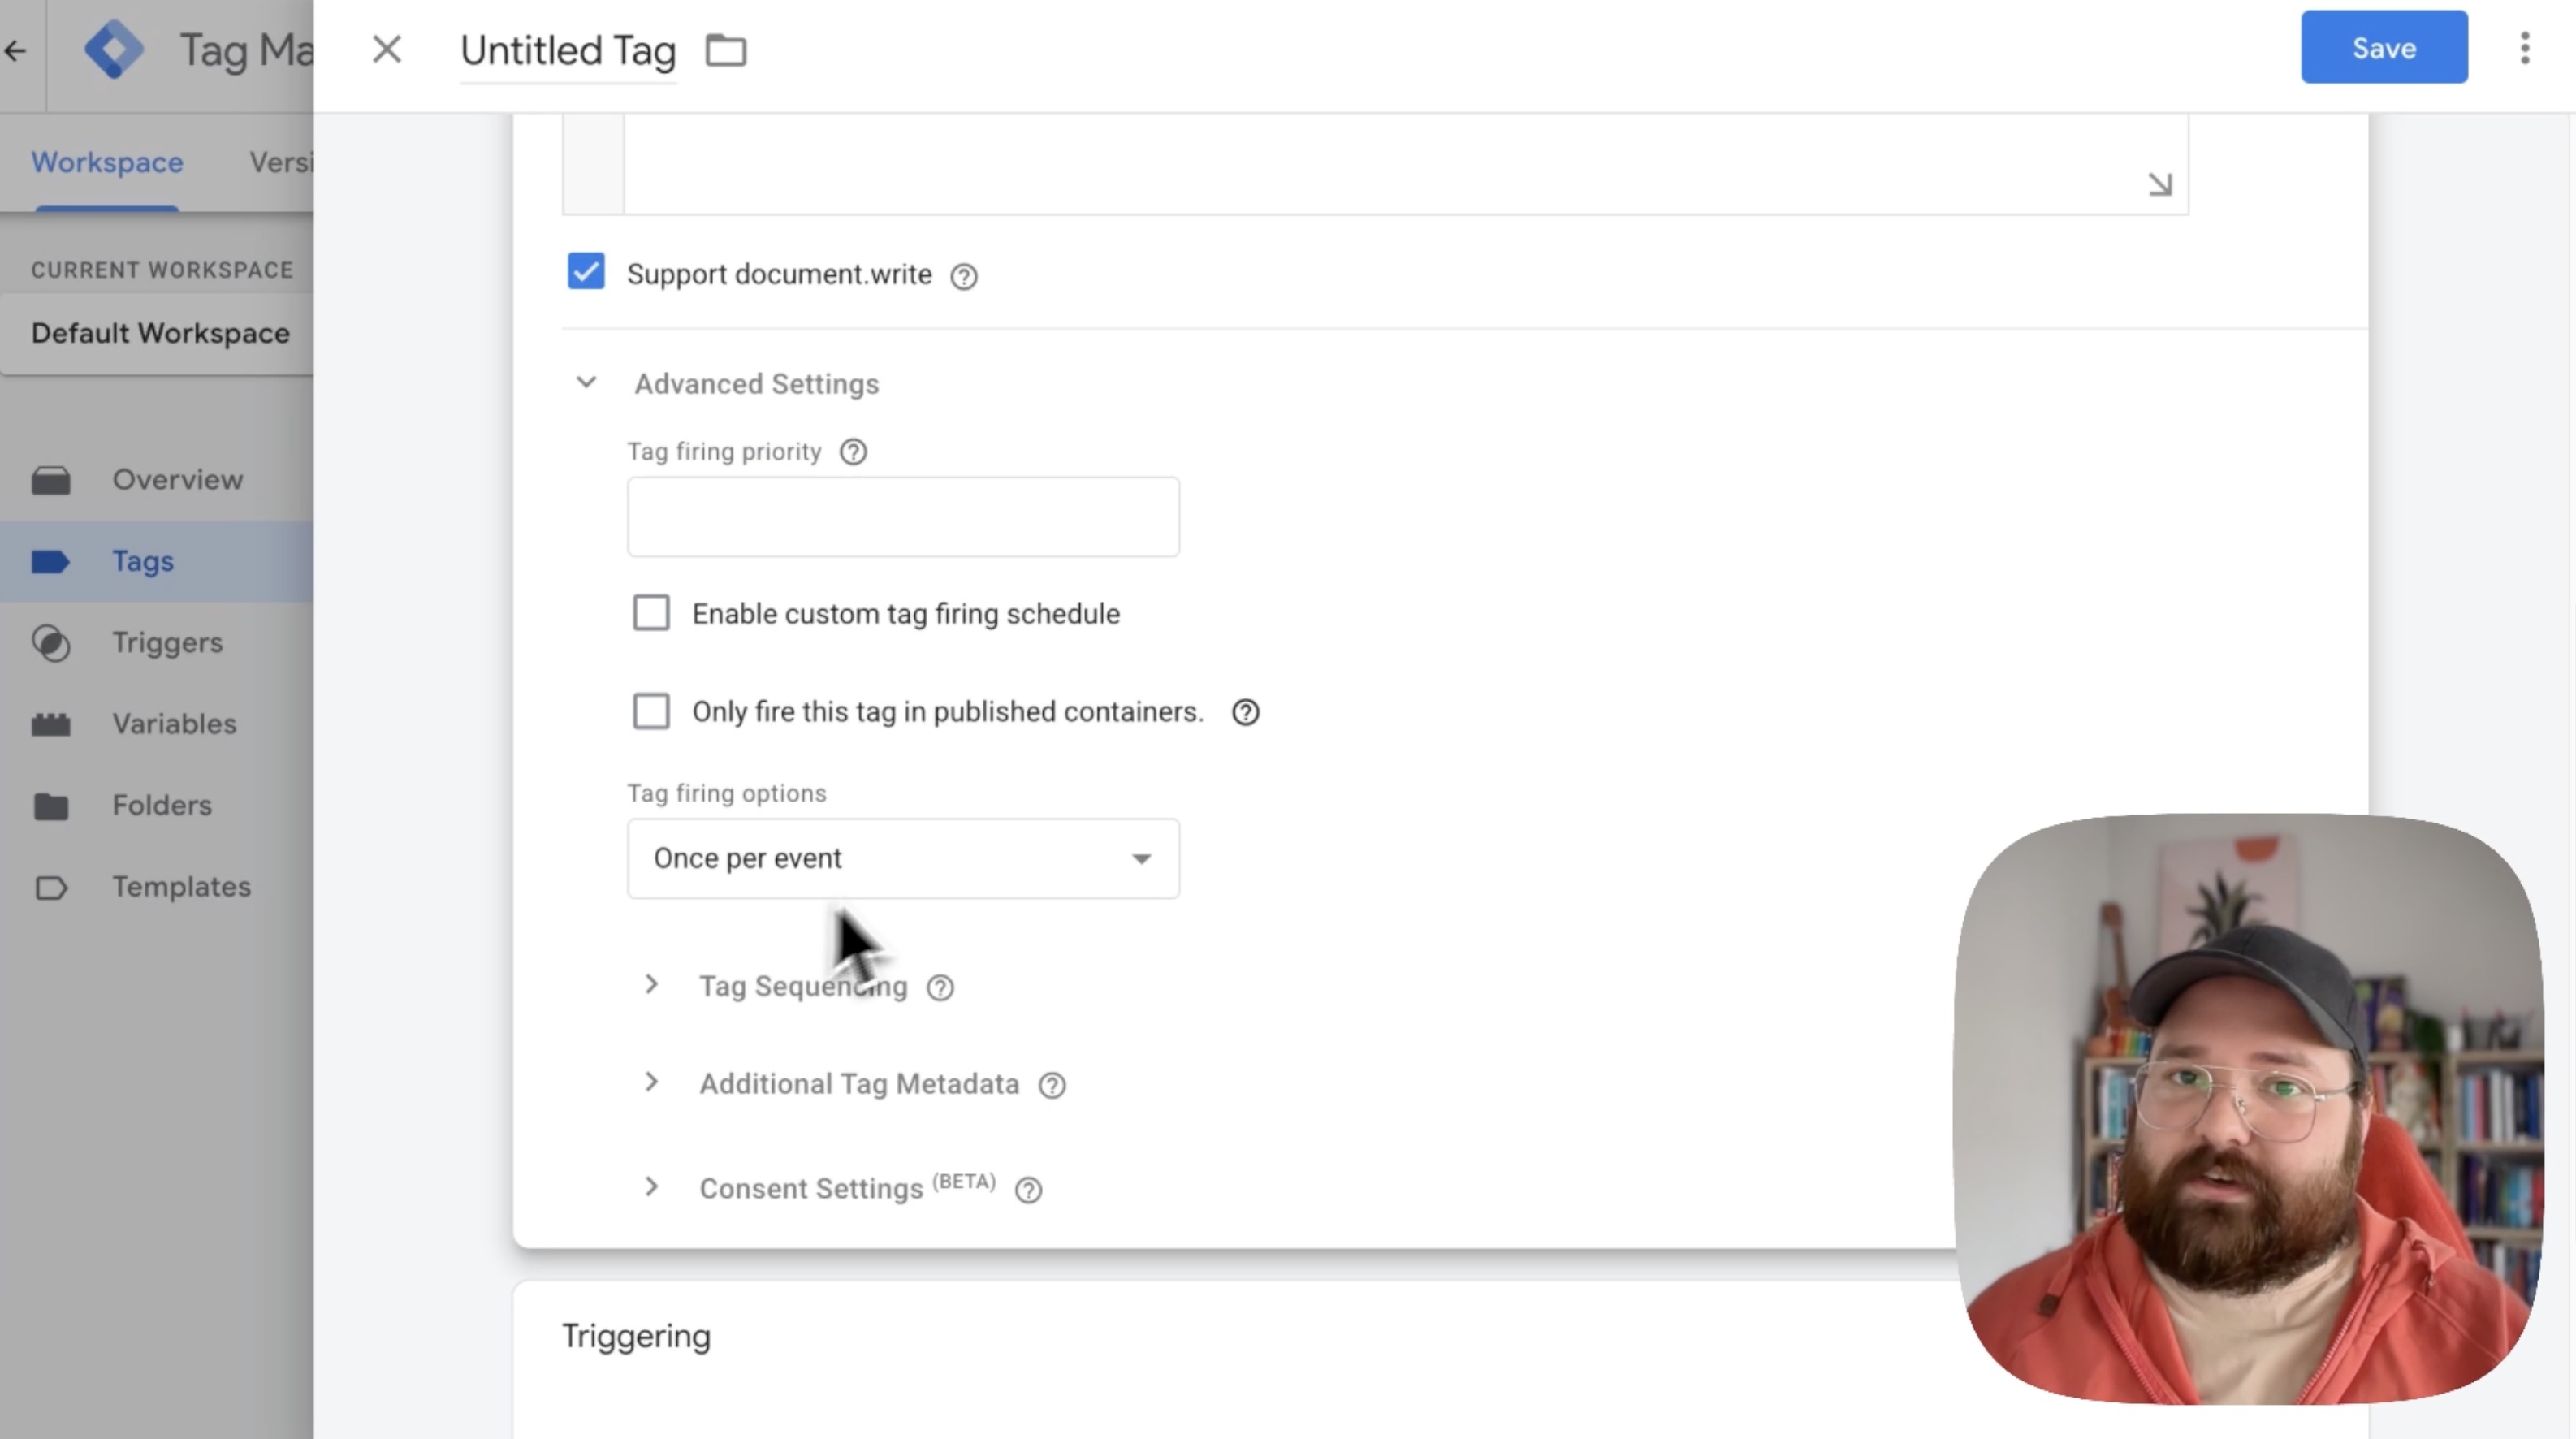
Step 3: Configure Tag Settings
Enable document.write support: Check the box for "Support document.write" to ensure flawless tracking.
Advanced Settings:
- Tag firing options: Select "Once per event"
- Consent Settings: Choose "No additional consent required" (adjust based on your compliance needs)
Step 4: Set Up Trigger
Click on Triggering and select an appropriate trigger. For button clicks, use:
- Click - All Elements (for all buttons)
- Or create a specific Click trigger

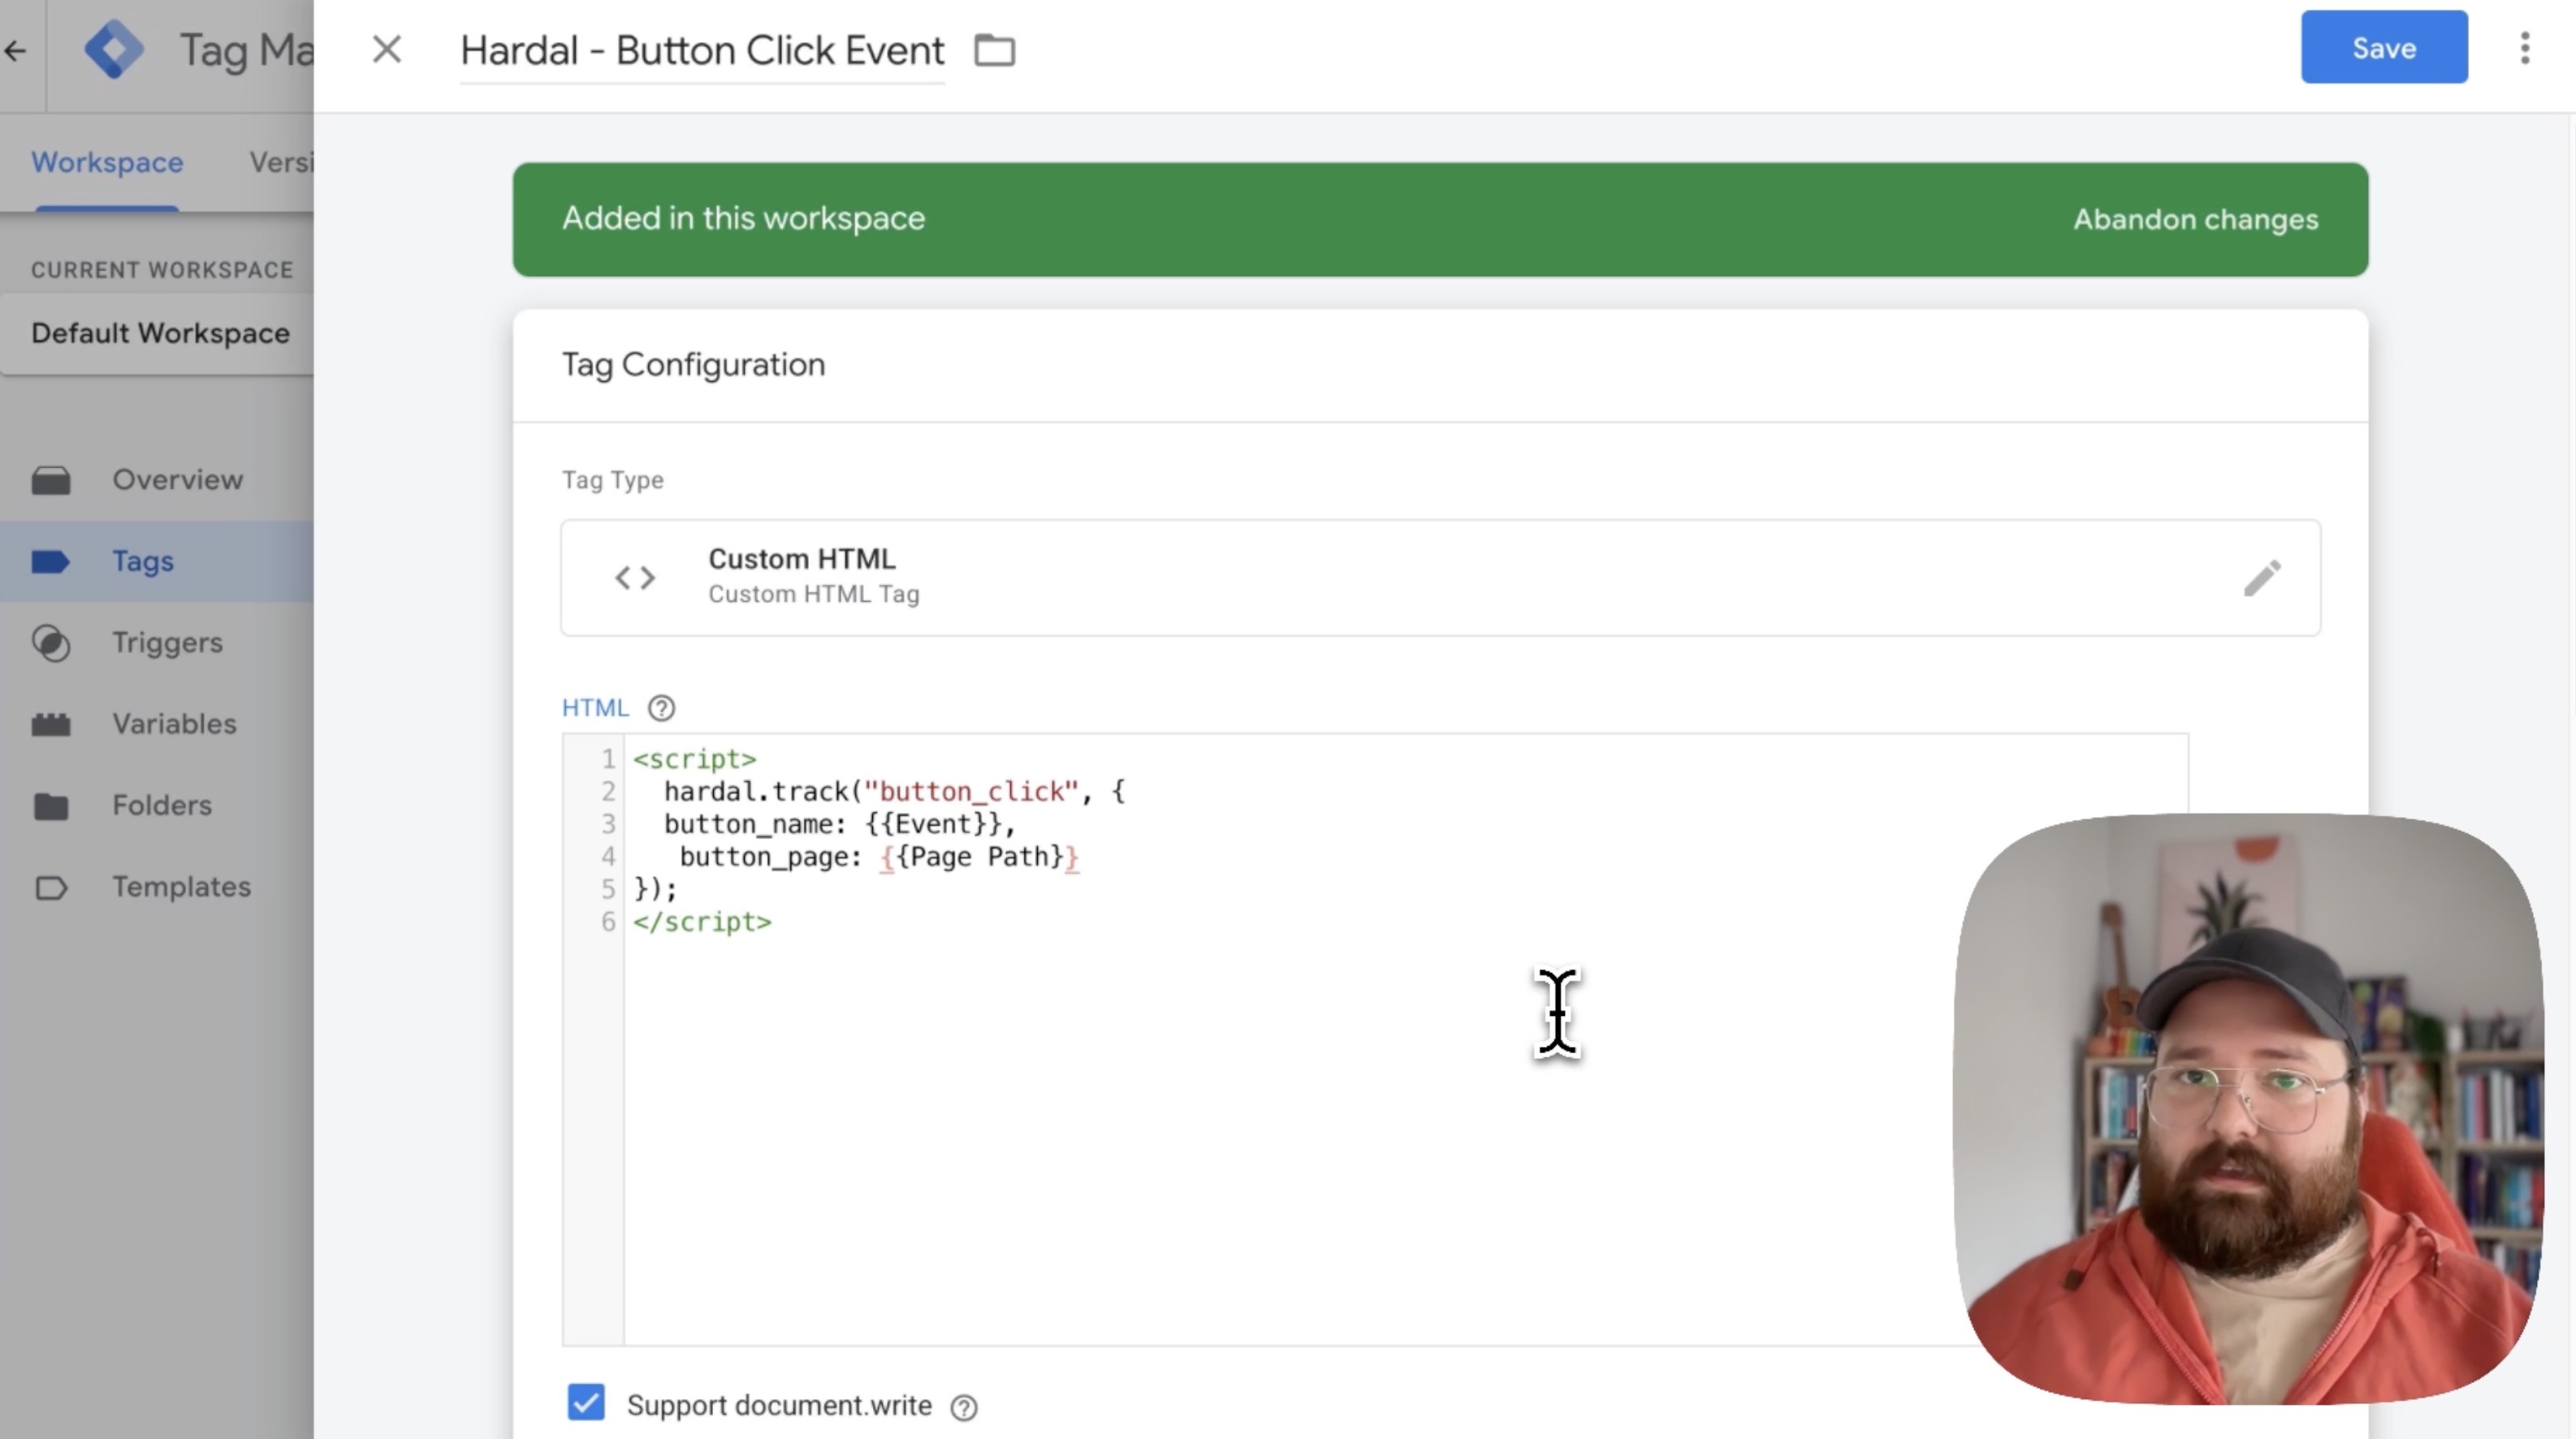
Step 5: Name and Save
Name your tag (e.g., "Hardal Button Click Event") and click Save.
Adding Custom Properties to Events
To send additional data with your events, modify the script to include properties.
Step 1: Modify the Script Structure
Click on your existing tag and update the code:
<script>
  hardal.track('button_click', {
    button_name: 'Subscribe Button',
    button_page: '/pricing'
  });
</script>
Step 2: Use GTM Variables
To make your events dynamic, use GTM variables with double curly braces {{}}:
<script>
  hardal.track('button_click', {
    button_name: '{{Click Text}}',
    button_page: '{{Page Path}}',
    button_url: '{{Click URL}}'
  });
</script>
This automatically captures:
- The text of the clicked button
- The current page path
- The URL the button links to
Step 3: Add More Properties
You can add as many properties as needed:
<script>
  hardal.track('button_click', {
    button_name: '{{Click Text}}',
    button_page: '{{Page Path}}',
    button_url: '{{Click URL}}',
    button_id: '{{Click ID}}',
    timestamp: new Date().toISOString()
  });
</script>
Advanced Event Examples
Track Form Submissions
<script>
  hardal.track('form_submission', {
    form_id: '{{Form ID}}',
    form_name: '{{Form Name}}',
    page: '{{Page Path}}'
  });
</script>
Trigger: Form Submission - All Forms
Track Video Engagement
<script>
  hardal.track('video_play', {
    video_title: '{{Video Title}}',
    video_provider: '{{Video Provider}}',
    video_url: '{{Video URL}}',
    video_percent: '{{Video Percent}}'
  });
</script>
Trigger: Video - Video Progress
Track Scroll Depth
<script>
  hardal.track('scroll_depth', {
    scroll_percentage: '{{Scroll Depth Threshold}}',
    page: '{{Page Path}}'
  });
</script>
Trigger: Scroll Depth
Track Add to Cart
<script>
  hardal.track('add_to_cart', {
    product_id: '{{Product ID}}',
    product_name: '{{Product Name}}',
    product_price: '{{Product Price}}',
    product_category: '{{Product Category}}'
  });
</script>
Trigger: Click - Add to Cart Button
Testing Your Events
Use GTM Preview Mode
- Click Preview in Google Tag Manager
- Enter your website URL
- Trigger the events you configured
- Verify tags are firing correctly
Check Browser Network Tab
- Open your website with DevTools (F12)
- Go to Network tab
- Trigger your custom events
- Look for requests to Hardal with event data
Verify in Hardal Dashboard
- Go to Analytics > Events
- Check for your custom events
- Click events to view properties
Publishing Your Changes
After testing and verifying everything works:
- Click Submit in GTM
- Add a version name (e.g., "Added custom event tracking")
- Add a description of changes
- Click Publish
Best Practices
- Test Before Publishing: Always use Preview mode to test tags
- Use Descriptive Names: Name tags clearly (e.g., "Hardal - Add to Cart Event")
- Leverage GTM Variables: Use built-in variables for dynamic data
- Document Your Setup: Add notes in tag descriptions
- Organize with Folders: Group related tags in GTM folders
- Version Control: Use meaningful version names when publishing
Your custom events are now configured in Google Tag Manager, providing flexible and powerful tracking capabilities without touching your website's code.
For a more detailed walkthrough, check out our step-by-step guide. How To Set Up Hardal Custom Events With Google Tag Manager