Custom events allow you to track specific user actions beyond basic page views. This guide shows you how to implement custom events directly in your website's code.
Prerequisites
Before sending custom events, ensure you have:
- Hardal tracking script already installed on your website
- Basic understanding of JavaScript
- Access to your website's code
If you haven't set up Hardal yet, see our setup guide.
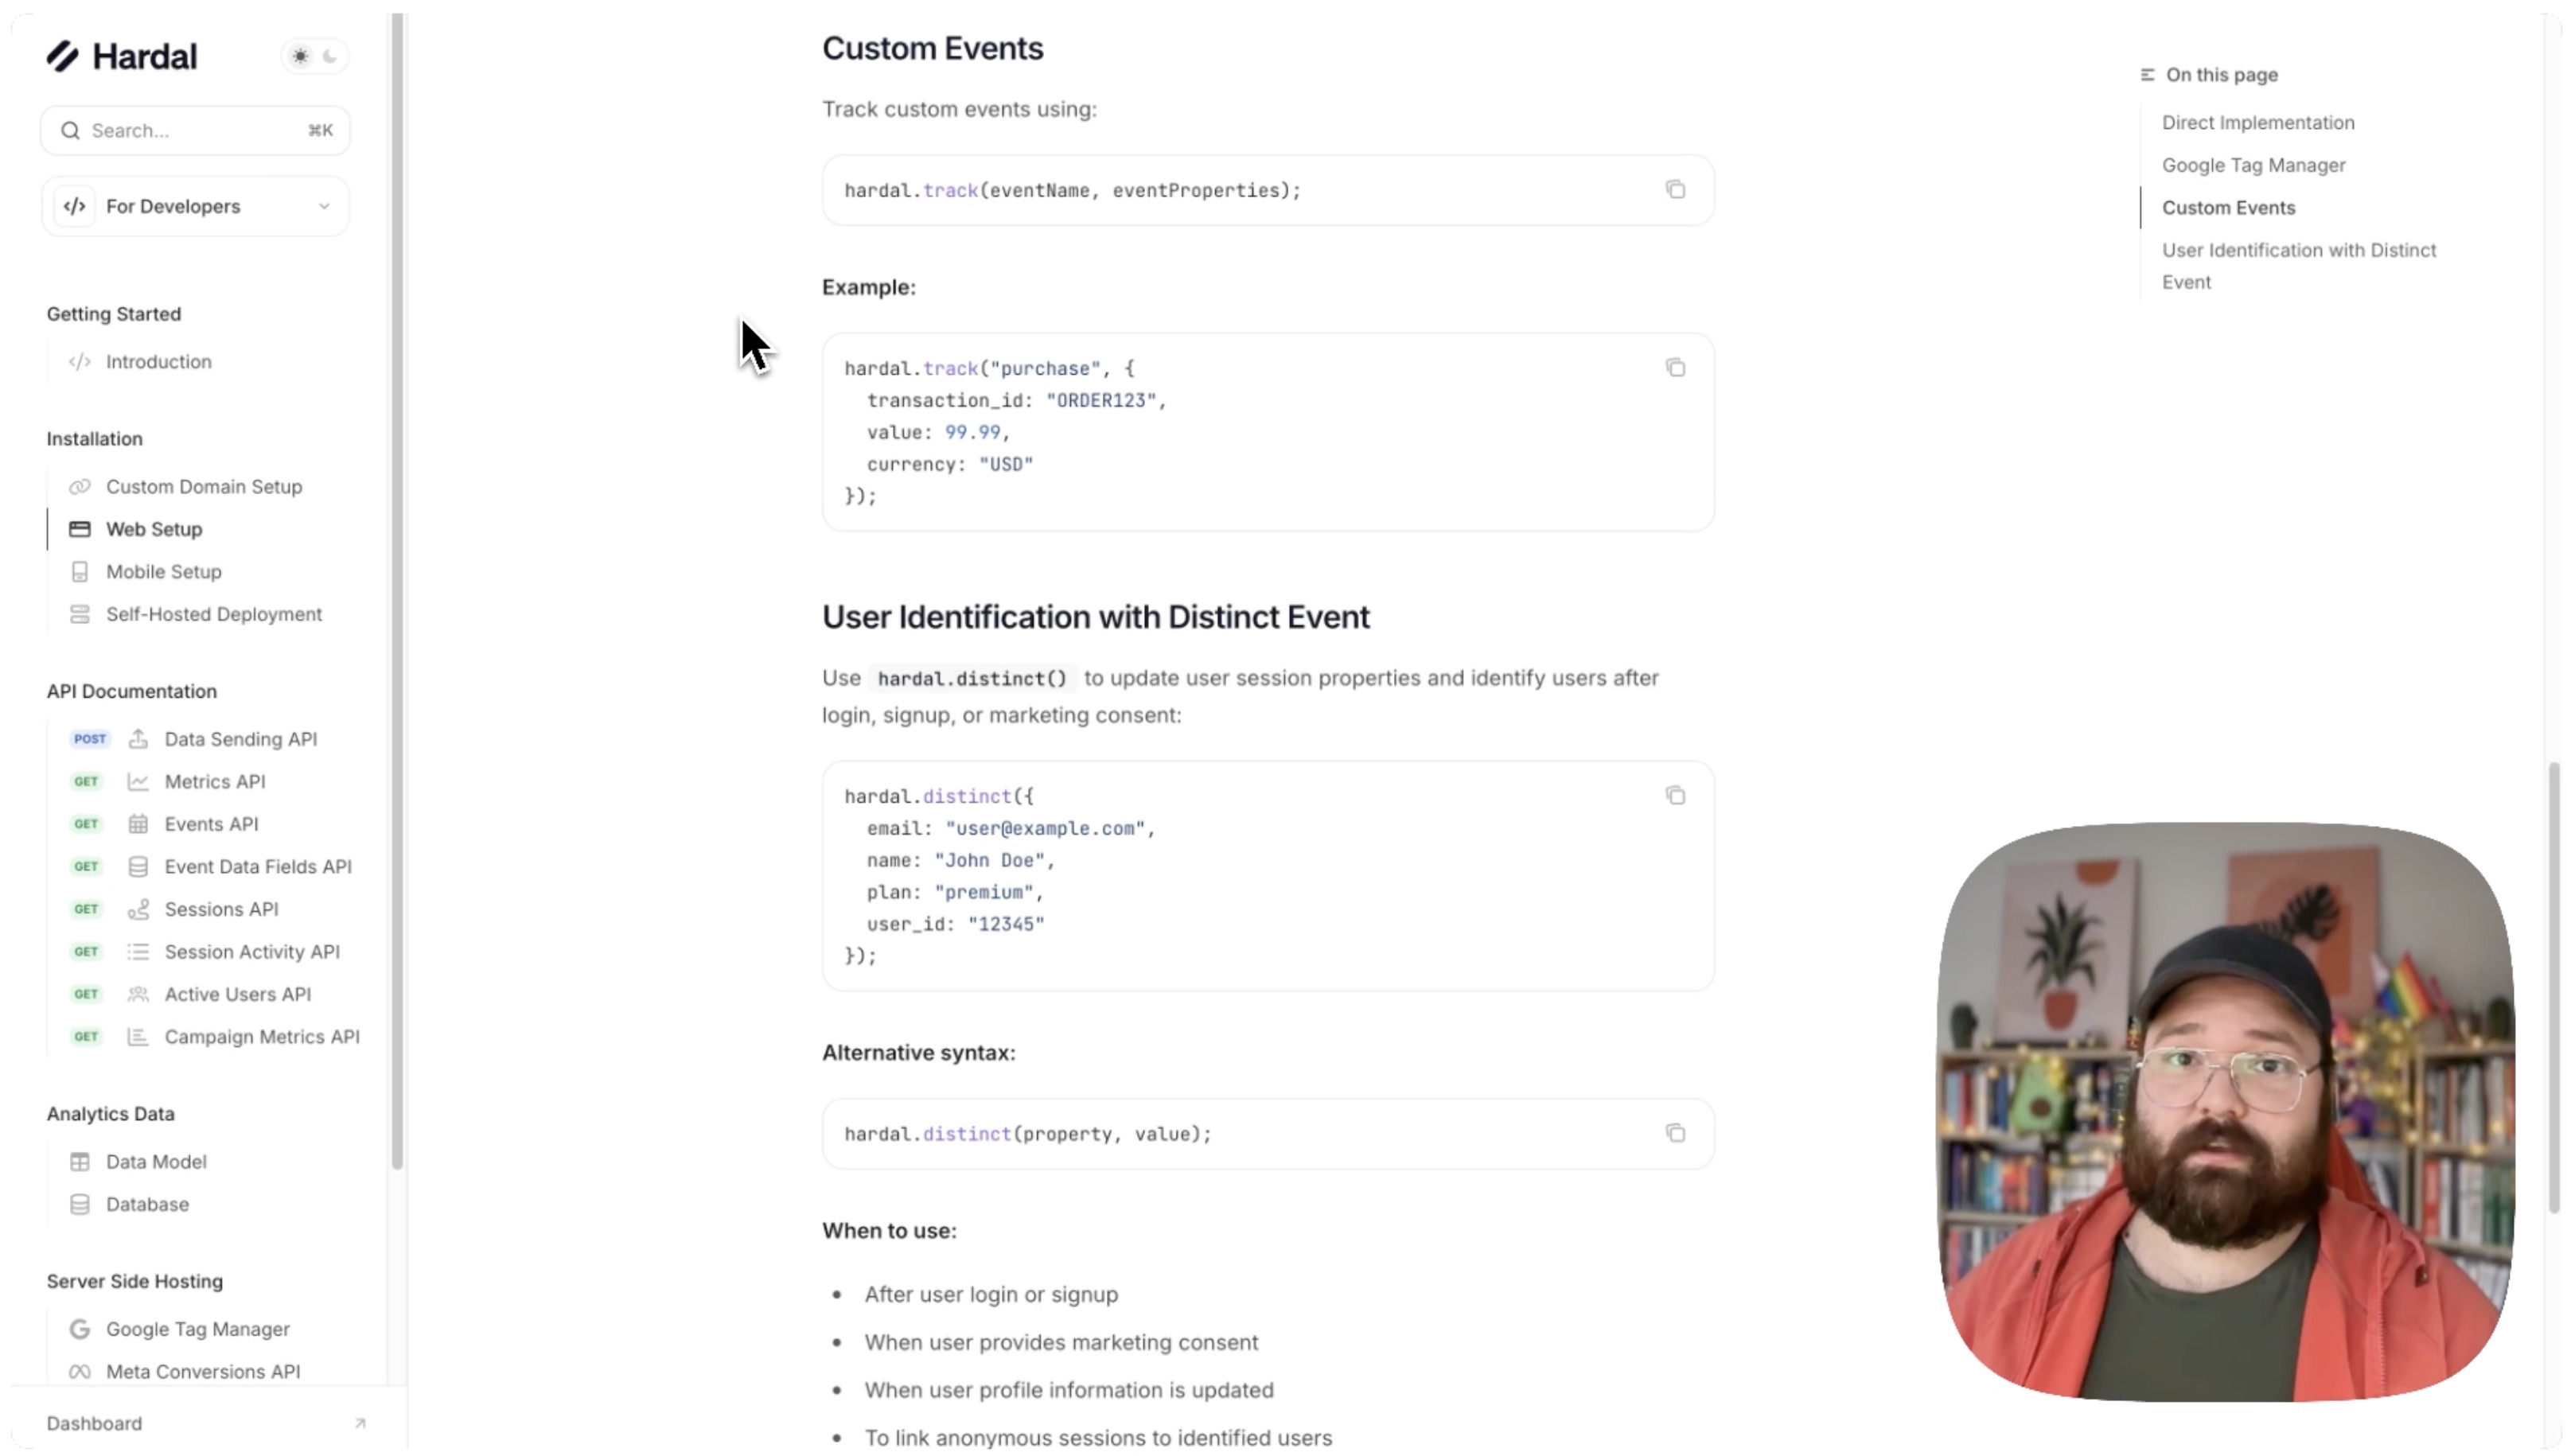
Step 1: Access the Documentation
Navigate to Hardal documentation and go to: For Developers > Web Setup
Scroll down to the Custom Events section for reference.
Basic Event Syntax
The basic function for tracking custom events is:
hardal.track('event_name');
This sends a simple event with just a name. For example, to track button clicks:
hardal.track('button_click');
Events with Properties
To send additional data with your events, use the properties parameter:
hardal.track('event_name', {
  property1: 'value1',
  property2: 123,
  property3: true
});
Example: Purchase Event
Here's a complete example for tracking a purchase:
hardal.track('purchase', {
  product_id: 'SKU123',
  product_name: 'Premium Widget',
  price: 29.99,
  currency: 'USD',
  quantity: 2
});
Understanding Data Types
When sending event properties, use the appropriate data type:
Text Values (Strings)
Use quotes for text:
hardal.track('event', {
  product_name: 'Widget',
  category: 'Electronics'
});
Number Values
Don't use quotes for numbers:
hardal.track('event', {
  price: 29.99,
  quantity: 5,
  discount: 10
});
Boolean Values
Use true/false without quotes:
hardal.track('event', {
  is_member: true,
  newsletter_subscribed: false
});
Arrays
You can also send arrays of data:
hardal.track('event', {
  categories: ['Electronics', 'Gadgets', 'New'],
  colors: ['red', 'blue', 'green']
});
Practical Implementation Examples
Track Add to Cart
document.querySelector('.add-to-cart-button').addEventListener('click', function() {
  hardal.track('add_to_cart', {
    product_id: this.dataset.productId,
    product_name: this.dataset.productName,
    price: parseFloat(this.dataset.price),
    category: this.dataset.category
  });
});
Track Form Submission
document.querySelector('#contact-form').addEventListener('submit', function(e) {
  hardal.track('form_submission', {
    form_name: 'contact_form',
    form_location: window.location.pathname
  });
});
Track Video Play
document.querySelector('#video-player').addEventListener('play', function() {
  hardal.track('video_play', {
    video_title: this.dataset.title,
    video_duration: this.duration,
    video_position: 0
  });
});
Track Newsletter Signup
function trackNewsletterSignup(email) {
  hardal.track('newsletter_signup', {
    email_domain: email.split('@')[1],
    signup_location: 'footer',
    timestamp: new Date().toISOString()
  });
}
Nested Properties
You can send nested objects for complex data:
hardal.track('purchase', {
  order: {
    id: 'ORDER-123',
    total: 99.99,
    items_count: 3
  },
  customer: {
    type: 'returning',
    loyalty_tier: 'gold'
  },
  shipping: {
    method: 'express',
    cost: 9.99
  }
});
Step 2: Verify Events Are Received
After implementing custom events:
Test in Browser
- Open your website
- Press F12 to open Developer Tools
- Go to the Network tab
- Trigger your custom events
- Look for requests to Hardal containing your event data
Check Hardal Dashboard
- Navigate to Analytics > Events
- You should see your custom events appearing
- Click on events to view their properties
Best Practices
- Consistent Naming: Use snake_case for event names (e.g.,
add_to_cart, notaddToCart) - Meaningful Names: Choose descriptive event names that clearly indicate the action
- Limit Properties: Only send properties you'll actually use in analysis
- Validate Data: Ensure property values are correct before sending
- Test Thoroughly: Verify events work correctly before deploying to production
Your custom events are now tracking specific user actions, providing deeper insights into user behavior on your website.
For a more detailed walkthrough, check out our step-by-step guide. How to Set Up Hardal Custom Events