After installing Hardal on your website, it's important to verify that everything is working correctly. This guide shows you how to check your setup and troubleshoot issues.
Method 1: Check Using Browser DevTools
The fastest way to verify Hardal is working is through your browser's Developer Tools.
Step 1: Open Your Website
Navigate to the website where you installed Hardal in your web browser.
Step 2: Open Developer Tools
Open your browser's Developer Tools:
- Windows/Linux: Press
F12orCtrl + Shift + I - Mac: Press
Cmd + Option + I - Right-click: Right-click anywhere on the page and select "Inspect"
Step 3: Go to Network Tab
Click on the Network tab in DevTools. This tab shows all network requests made by your webpage.
Step 4: Refresh the Page
Refresh your webpage to capture network requests from the page load:
- Press
F5orCtrl + R(Windows/Linux) - Press
Cmd + R(Mac) - Click the refresh button in your browser
Step 5: Search for Hardal
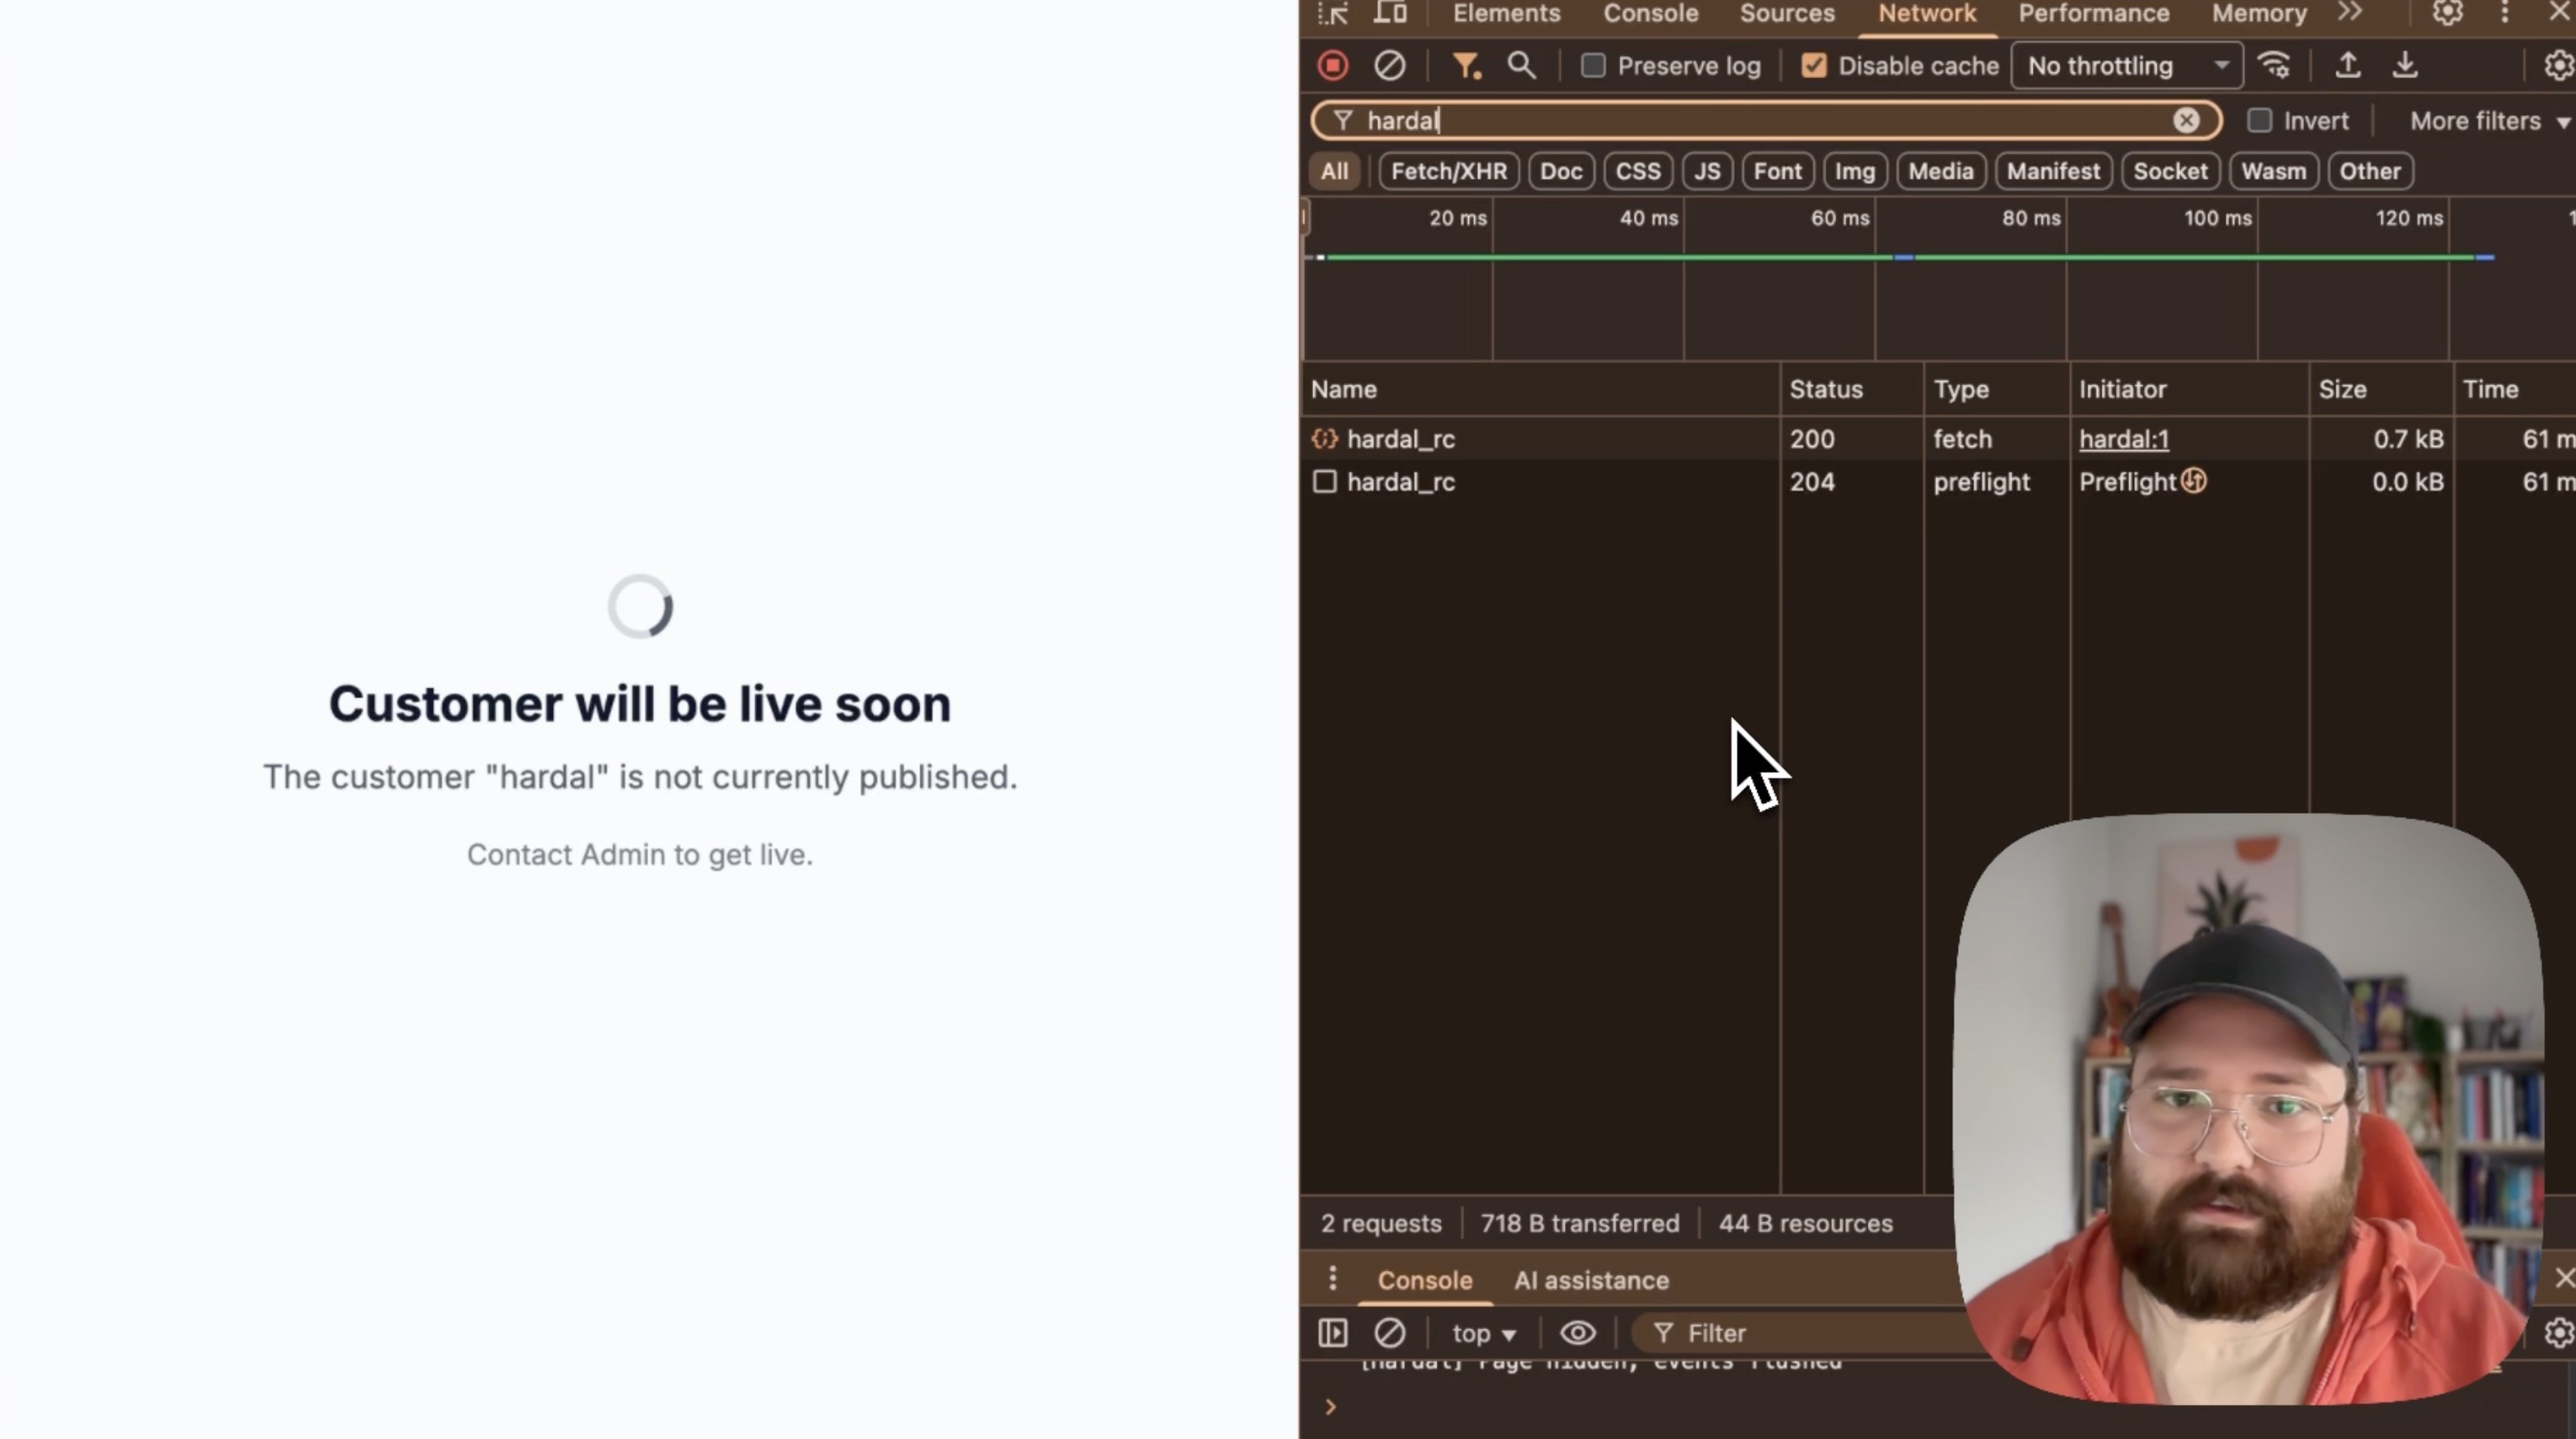
In the Network tab's filter box, type "hardal" to filter requests.
Step 6: Verify Requests
You should see:
- hardal: The main tracking script
- Request to Hardal API: Event tracking requests
Look for:
- Status Code: 200 (success) or 204 (success, no content)
- Type: Script and XHR/Fetch
- Size: Should show actual data being transferred
If you see these requests with successful status codes, your installation is working correctly.
Method 2: Check Hardal Dashboard
The second verification method is to check if events are appearing in your Hardal dashboard.
Step 7: Navigate to Events Page
Go to your Hardal dashboard:
- Select your signal
- Click Analytics in the left menu
- Select Events
Step 8: Check for Recent Events
The Events page displays real-time data from your website. You should see:
- Recent page views
- Event timestamps
- User information (browser, device, location)
- URL paths
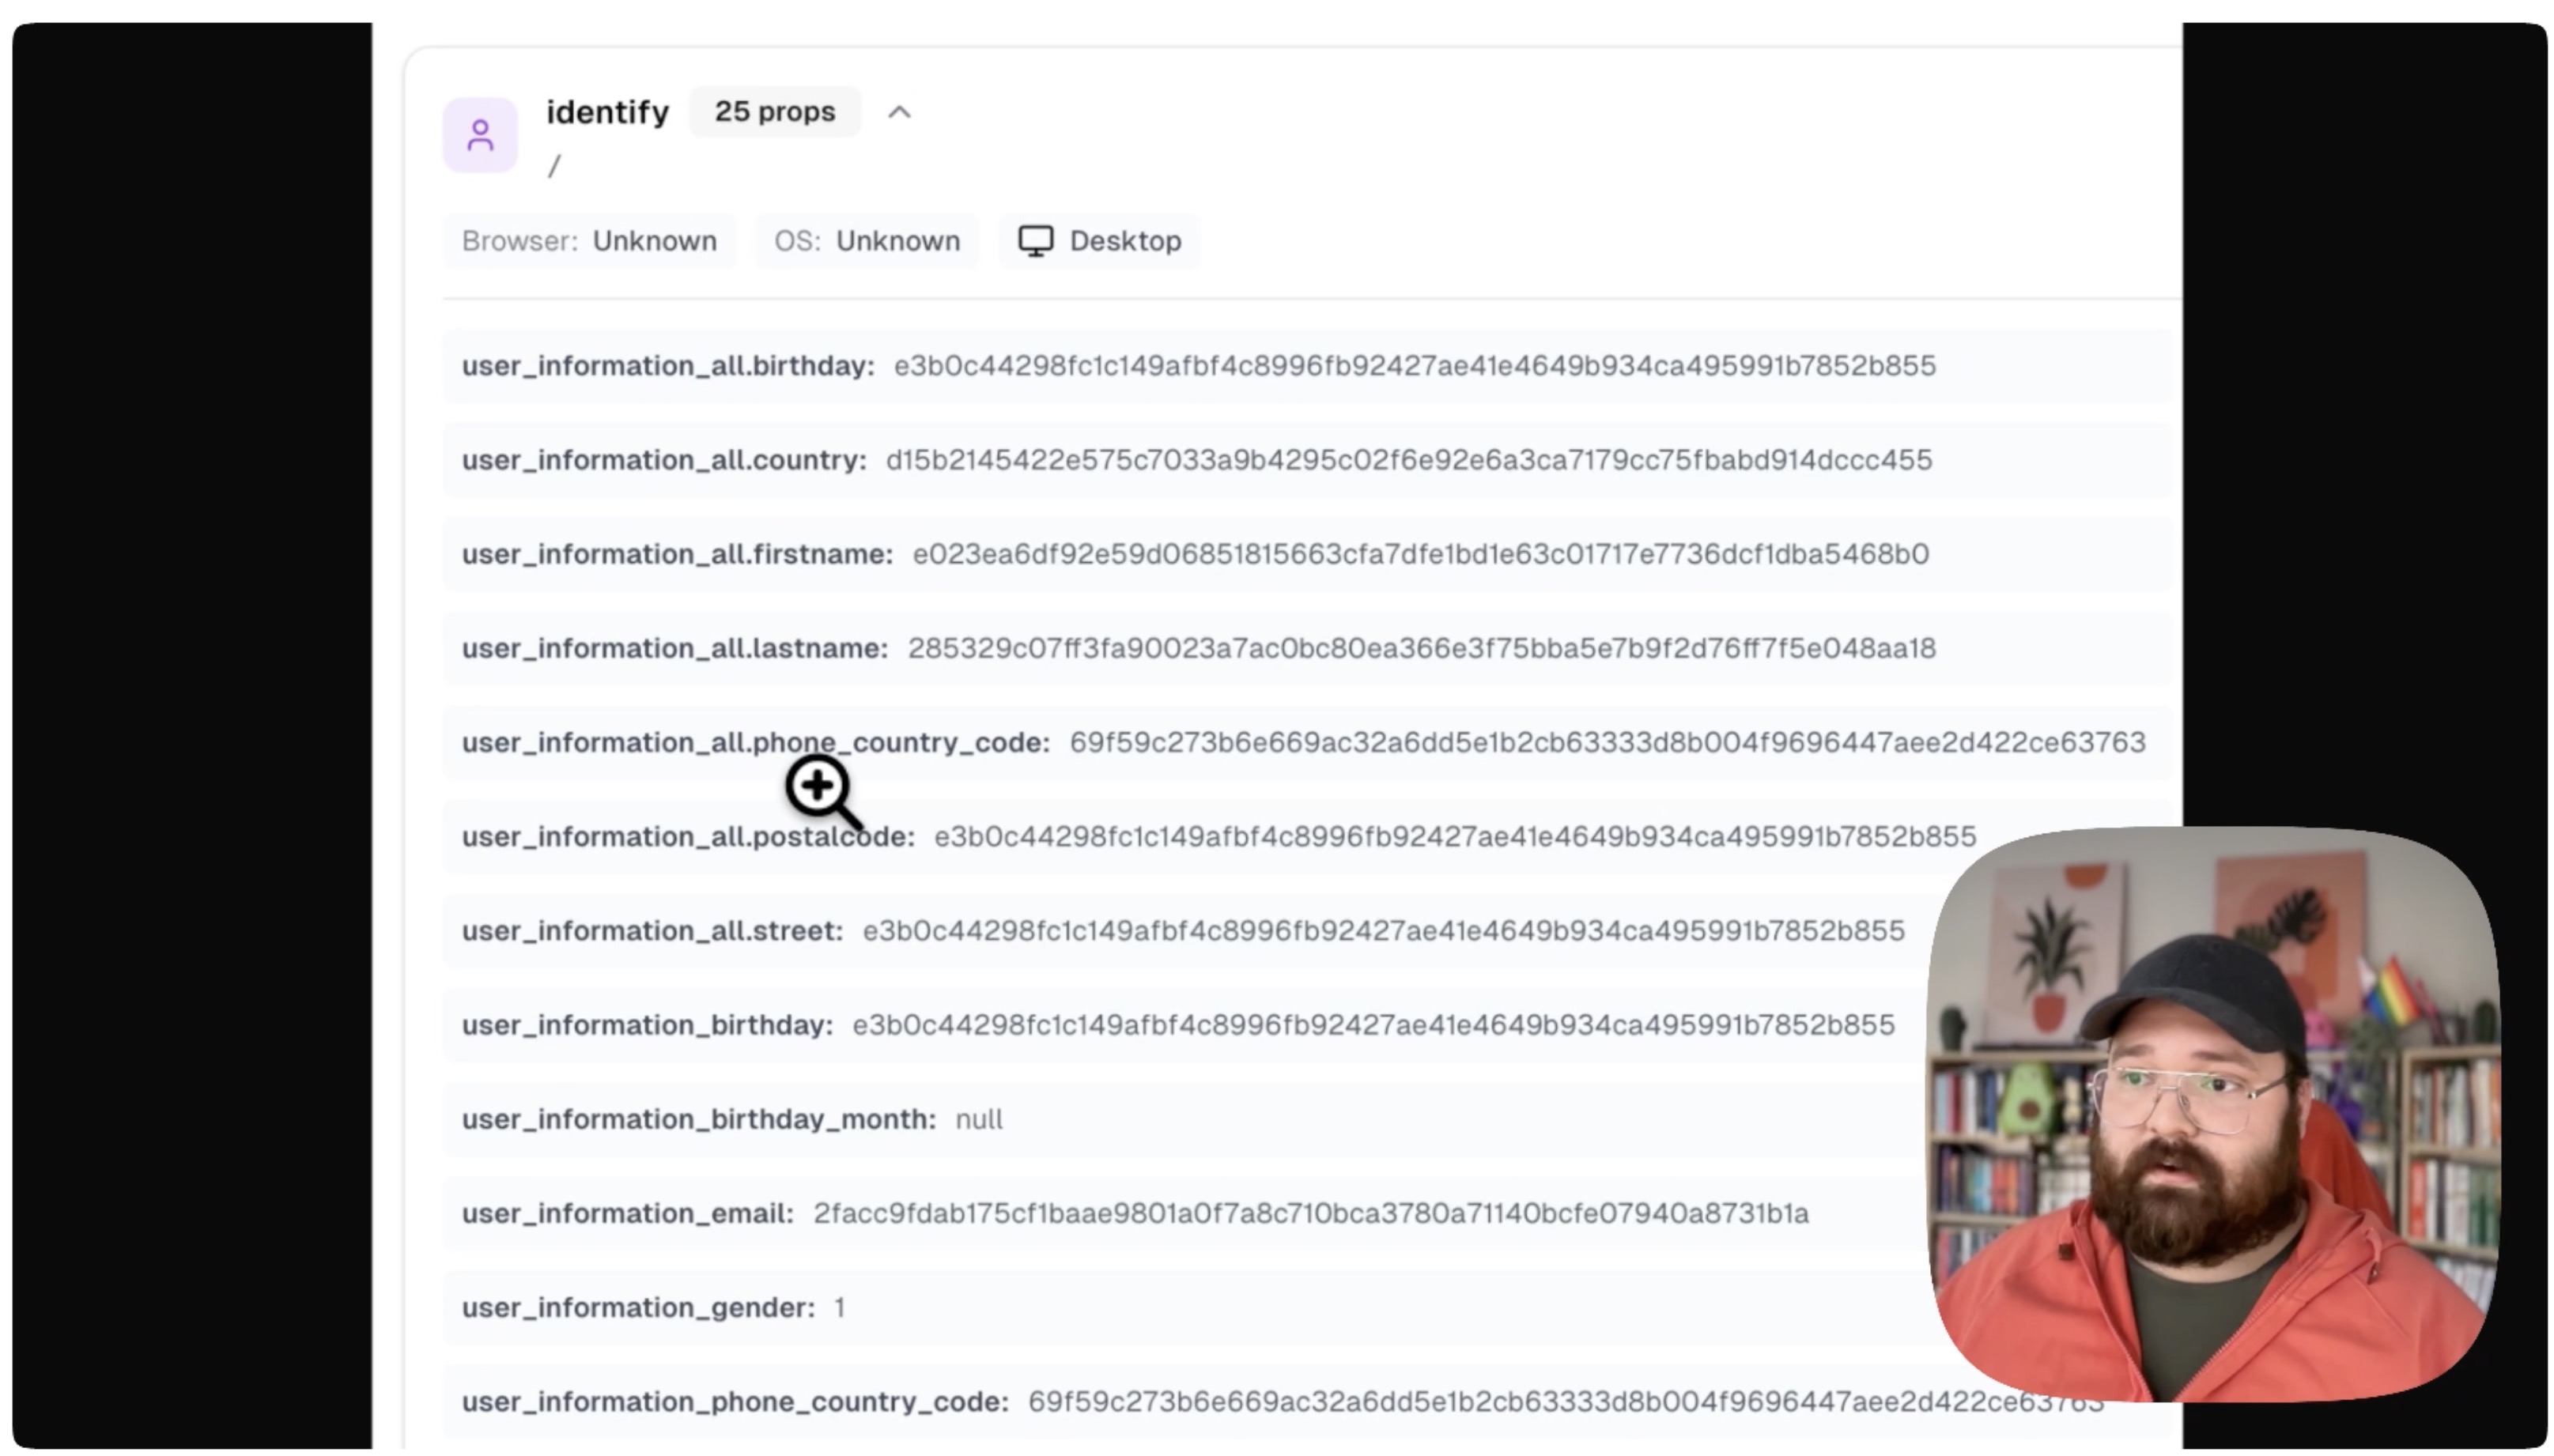
Step 9: Verify Event Data
Check that events contain correct information:
- URLs match your website pages
- Timestamps are current
- User data is being captured (browser, OS, etc.)
Your Hardal analytics should now be verified as working correctly. Regular monitoring ensures ongoing data accuracy and reliability.
For a more detailed walkthrough, check out our step-by-step guide. How To Verify And Debug Hardal Set Up