Your Hardal project settings allow you to manage project details and team member access. This guide walks you through the available settings and how to use them.
Accessing Project Settings
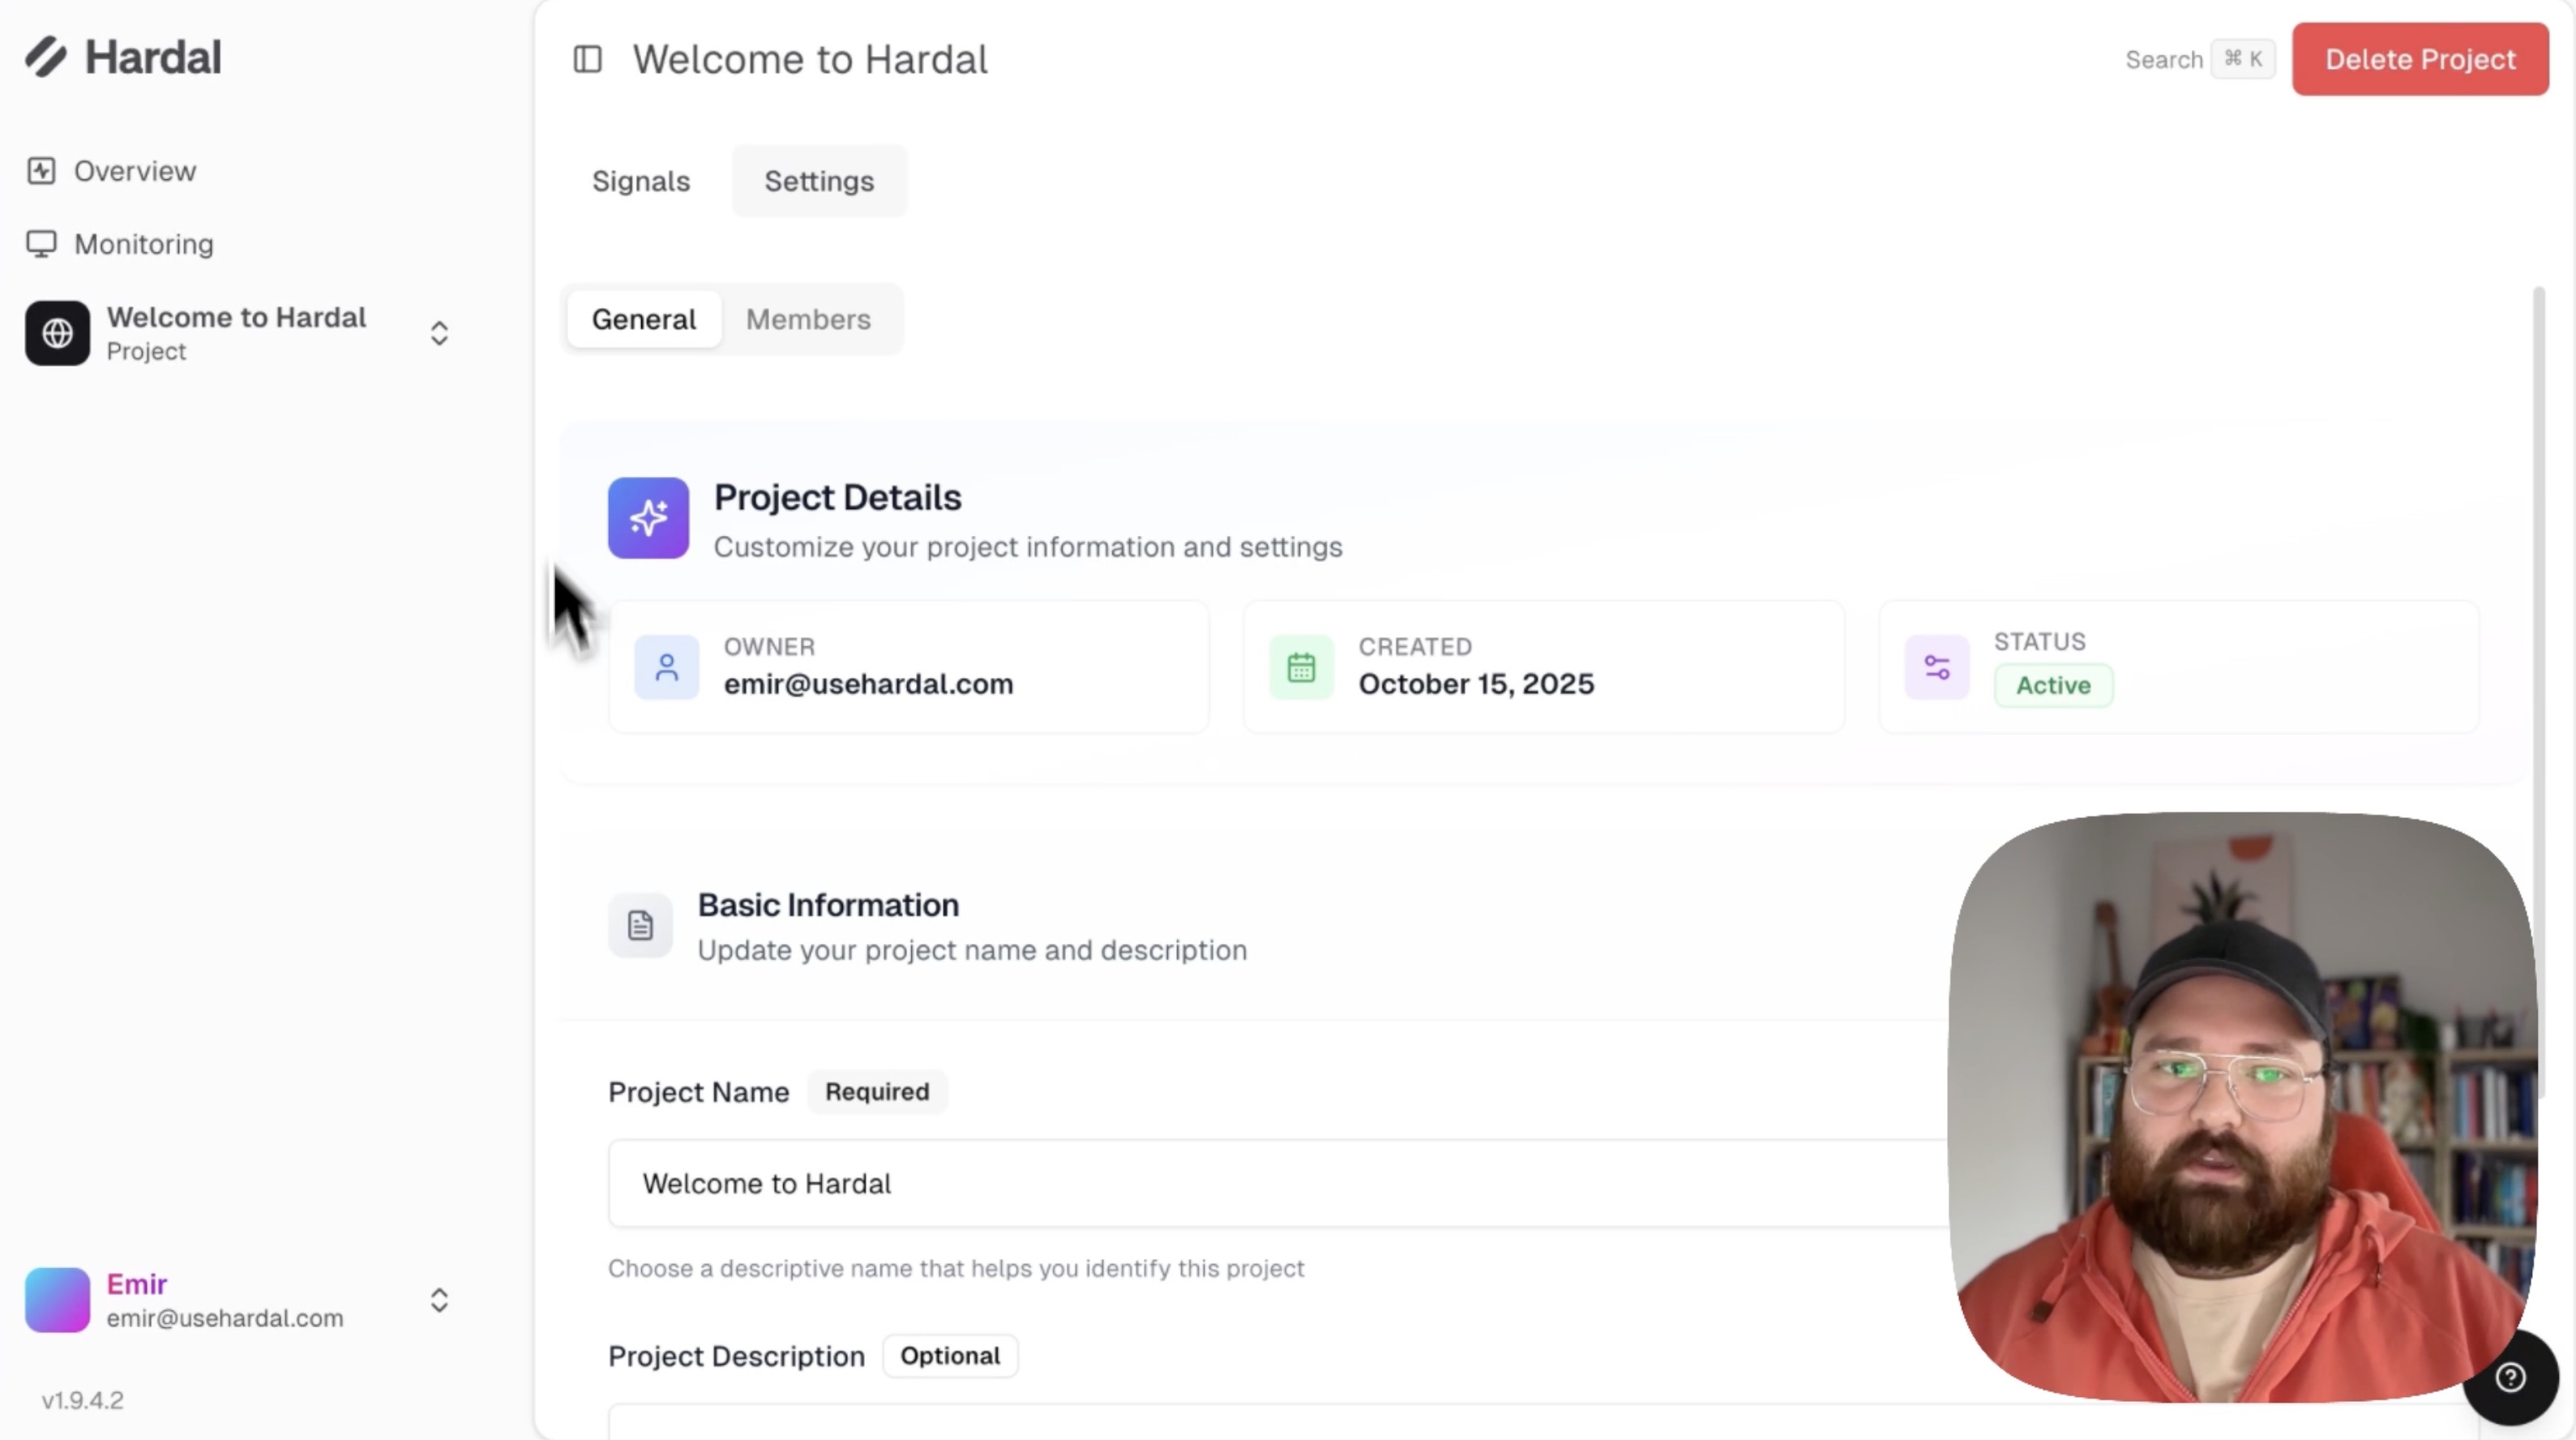
Navigate to your Hardal dashboard. You'll see your project and its signals displayed. Click on Settings at the top of the page to access project-level configuration.
General Settings
In the General section, you can:
- Change your project name
- Add or edit a project description
These details help you organize and identify your projects, especially when managing multiple signals.
Managing Team Members
Click on Members to view and manage who has access to your project.
Adding New Members
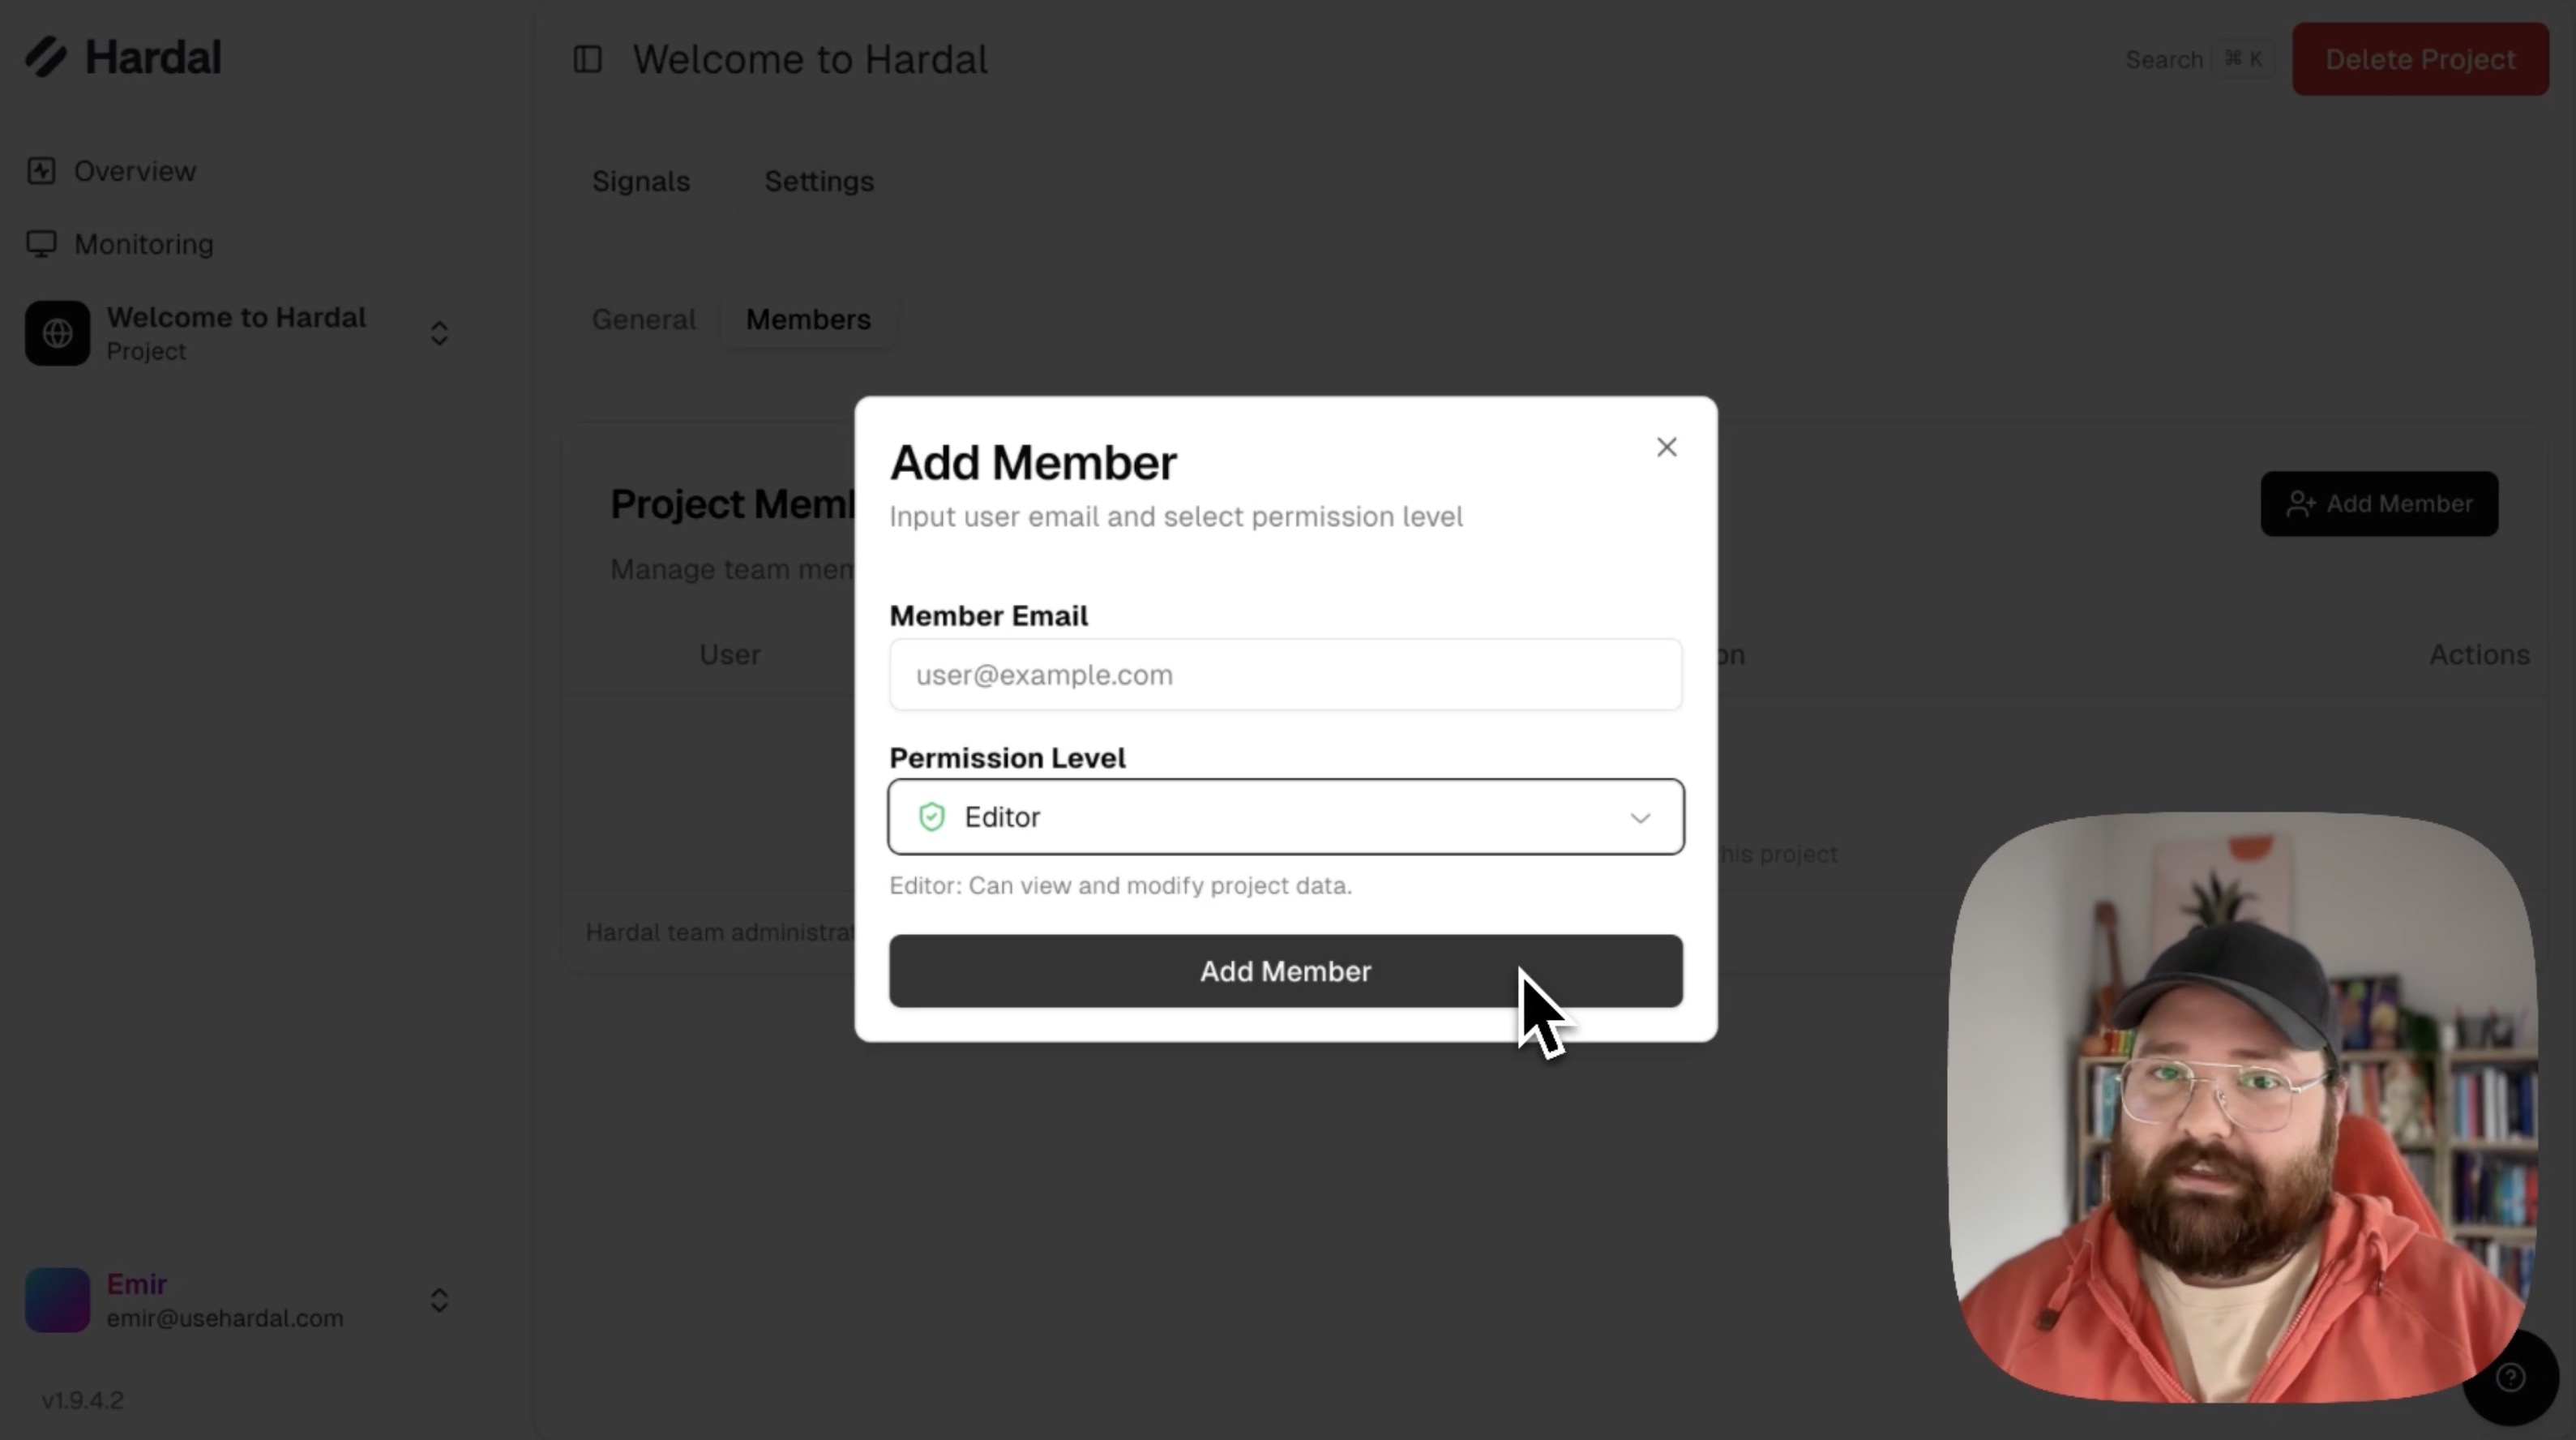
To invite a team member:
- Click Add Member
- Enter their email address
- Click Add Member to send the invitation
Understanding Member Roles
Hardal offers two permission levels:
View Only: Members can view project data and reports but cannot modify settings or configurations.
Editor: Members have full access to change settings, configure signals, and manage project data.
You can see all active members and their permission levels in the Members section. Choose the appropriate role based on each team member's responsibilities.
For a more detailed walkthrough, check out our step-by-step guide. Hardal Dashboard - Project Settings